Did you know that you can build your own lowrider bike? Yup, it’s true, and it isn’t something new! Building lowrider bikes has been a thing since the 1960s.
Even today, the culture of building a lowrider bike is still very much alive. Although it’s not as easy as you think, it’s also not super hard.
So, want to make a low rider bike? In this article, we’ll show you all the things you need and all the steps to take on how to build a lowrider bike like a pro.
Continue reading!
Table of Contents
- Step-by-Step to Build a Lowrider Bike
- Step 1: Gather Your Materials
- Step 2: Plan Out What You Want and Draw the Design You Envision
- Step 3: Begin to Draw and Cut Out Your Templates
- Step 4: Install the Derailleur
- Step 5: Install the Fork
- Step 6: Prepare the Wheels and Tires, Then Install
- Step 7: Add the Handlebars
- Step 8: Screw in the Bike Fenders
- Step 9: Install the Wheels and the Chains
- Step 10: Add Your Design by Drilling the Sheet Metals Onto Your Bike
- Step 11: Add Some Color by Spray Painting
- Conclusion
Step-by-Step to Build a Lowrider Bike
Step 1: Gather Your Materials
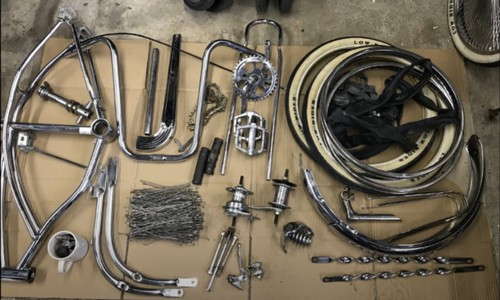
Make sure that you already have your lowrider bike frame and all the necessary pieces of equipment needed.
To make sure, you might want to purchase lowrider bike build kits. It has all the lowrider bike parts you need.
If you only need specific parts, you can always just check their catalog and purchase the specific missing parts.
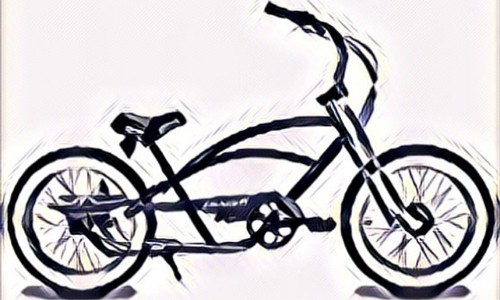
Step 2: Plan Out What You Want and Draw the Design You Envision
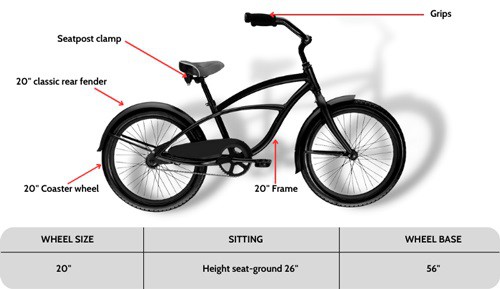
Before you assemble your lowrider bike, it’s important to design the concept of what it will look like first.
Step 3: Begin to Draw and Cut Out Your Templates
The template of your bike is basically the parts that will cover the bike’s frame. Now, align your template into a sheet metal.
Trace the parts and begin cutting the sheet metal with a cutter or whatever tool is available. Just set these parts aside. You’ll need them later.
Step 4: Install the Derailleur
- Put your frame on a stand, apply some grease to the tubed areas of the frame, then insert the derailleur into the tubed area.
- Once you’ve inserted it, put some grease on the bearings and place it on the opposite side of where the derailleur is placed. Add another bearing to secure it. Remember that both bearings should face each other.
- Next, place the ring and the screw exactly where you put on the bearing. Screw them all on, not too tight, but just right.
- Test out how the derailleur works by spinning the crankset.
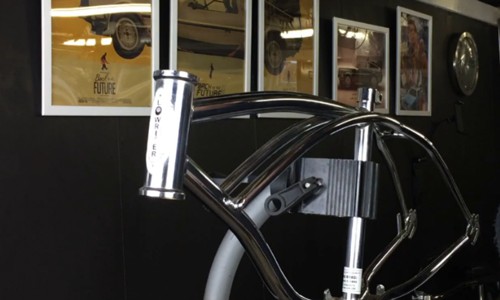
Step 5: Install the Fork
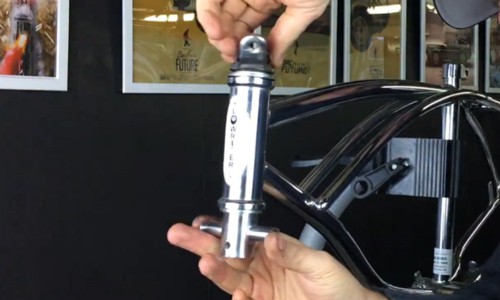
- Grab the fork and install it inside the bike’s head tube. Grab the ring or bearing and place it on top of the head tube.
- You’ll see a slot on the front area of the fork, lock it in with the bearing, and you’ll see it finally come together. Get another bearing and screw it on top to lock it in place.
If the bike frame is already painted on, simply put a towel over it to avoid messing up the paint.
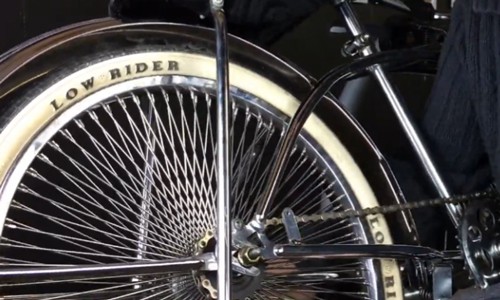
Step 6: Prepare the Wheels and Tires, Then Install
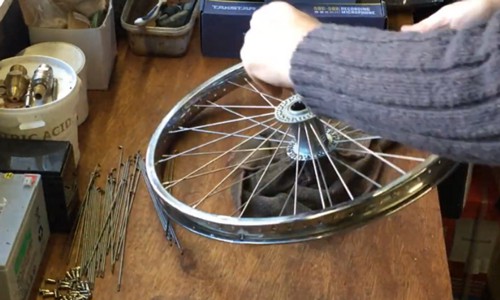
- Now, begin to work on the wheels and tires. Adjust the spokes that may need adjusting first.
- Then, grab your wire tape or electric tape around the edges of the wheel. Poke a hole in it using your screwdriver. This hole is where your inner tubes are going to be inserted.
- Then, insert the inner tube inside that hole. After, start to insert the wheels with the spokes into the tire rims.
- Align the inner tube to where the hole of the wheel fits and insert them together as it conjoins with the entire wheel. Make sure to fit everything inside.
Step 7: Add the Handlebars
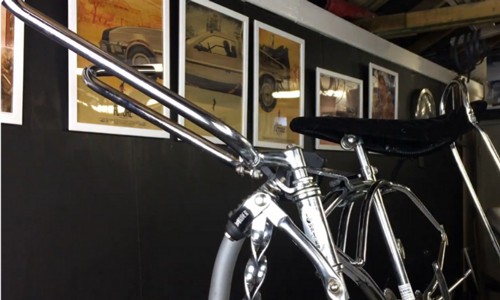
- Get the stem of the handlebar holder and insert it into the bike’s head tube. Lock it in place using the screw that it comes with.
- Grab your handlebars and insert them into the stem’s opening. Tighten them by locking in the screw just below the bike’s handlebars. Use a wench.
Step 8: Screw in the Bike Fenders
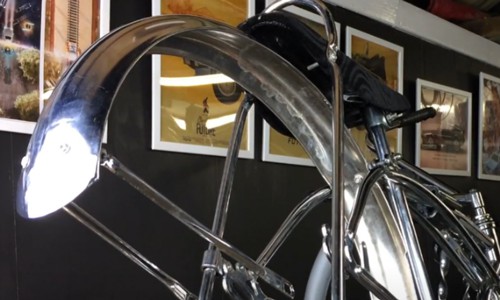
Position your bike upside down and prepare your fenders to be installed. Position it near the fender brace and screw it on. Screw it into a slot just near the coaster wheel axle.
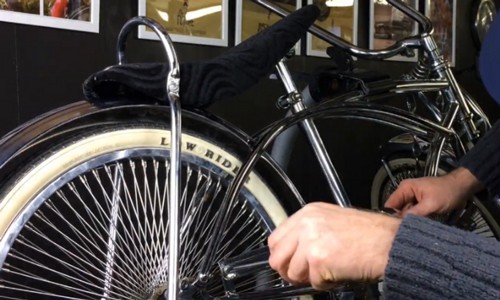
Step 9: Install the Wheels and the Chains
- Place your wheels on top of the fender you just installed. Now, begin to measure the length of the chain you’ll need. Ensure it’s accurate, then cut the chain using a chain breaker.
- Wrap the chain around the crankset, extend it further, and wrap it around the derailleur. Lock it in using the fenders on both sides.
- Grab your screw or bearing and lock the fenders by screwing it on the middle area to where both fenders meet as it secures the derailleur.
Step 10: Add Your Design by Drilling the Sheet Metals Onto Your Bike
With the sheet metal templates you have earlier, position them on your bike and cut off any excess parts. It depends on your custom design, which areas you want to be covered with the sheet metal.
This is how you DIY a bike frame design.
- First, Drill the sheet metal that’s laid on top of your bike frame. The frame underneath should also be drilled. Use a rivet to stick the metal sheets over permanently.
- Make sure to cover both sides. You can use some triple-expanding foam to fill in some gaps and perfectly secure the sheet into the frame.
- Once they’re completely dried and conjoined together, cut off the excess foam using a hacksaw blade. You can also smoothen it using a sandpaper.
Step 11: Add Some Color by Spray Painting
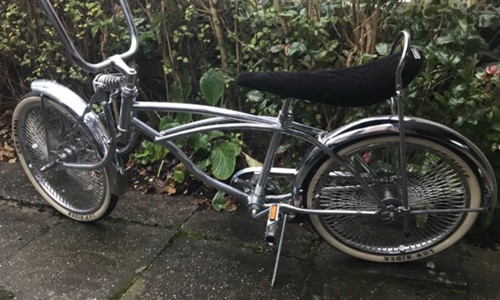
If you’re already satisfied with how it’s designed. Begin to apply some color to your bike by spray painting it. Let it dry, and you’re done.
Conclusion
That’s everything you need to know on how to build a lowrider bike. Starting from its assembly down to its design, we have you all covered.
Now, with all these steps, you have all the right reasons to do it right the first time. It takes just a little bit of hard work, effort, and time, you’re sure to make a bike worth all the sweat!
If you have other friends who are also interested in building their own lowrider bike, give them a hand with this article and let the culture of lowrider bike building entertain them, too!

“I ride my bike to work for years, but is that enough? Our carelessness towards our surroundings has taken a toll on the environment. And now, everyone is responsible for changes; even the most minor contribution is counted. With this hope and spirit, I started with my partner to establish Biketoworkday to help more individuals commute to their work sites on their bikes.”