Peloton Bikes are high-quality exercise machines, and the screen turns them into a multi-dimensional and interactive workout solution. However, handling these displays is enough to induce nightmares due to the fear of accidentally breaking them.
There are different reasons why we may need to unmount the screen, such as for troubleshooting, monitor replacement, or moving Peloton Bike. Whatever reason you have for needing to detach the bike display, it helps to know how to remove Peloton screen.
Keep reading to learn more.
Table of Contents
The Ins and Outs of Peloton Screen Removal
THe Peloton machines are generally user-friendly and easy to work with; you can disassemble a Peloton bike for moving or troubleshooting without much difficulty.
Taking the screen off is even simpler. While there are different bike models, the task is easy enough that we can cover both types here.
- You’ll need a standard Phillips screwdriver for the base model.
- The Bike Plus model requires a 4mm Allen key instead.
- Also, you might want a helping hand to hold the screen.
Take extra care when you remove the screen from Peloton bike once the screws are unfastened; it could fall off.
How to Take Off Peloton Bike Screen
For the standard model, the mounting screws securing the Peloton monitor are hidden behind a removable back panel. This panel clips on and off, and does not need any special tools for removal.
Follow these simple steps:
- Turn off and unplug the bike.
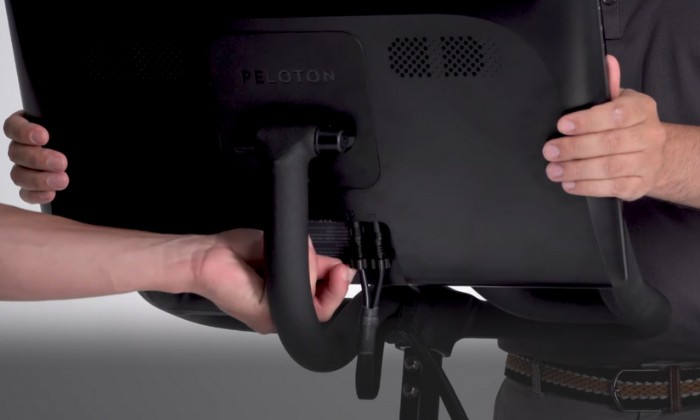
- Then, disconnect the two cables connected at the back of the screen.
- Move to the back panel with the Peloton name or logo that conceals the screws. Wedge it out at the center bottom section to remove it.
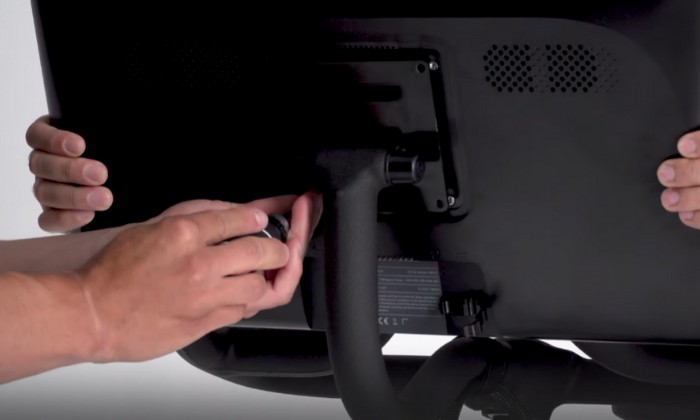
- Use a Phillips screwdriver to remove all screws.
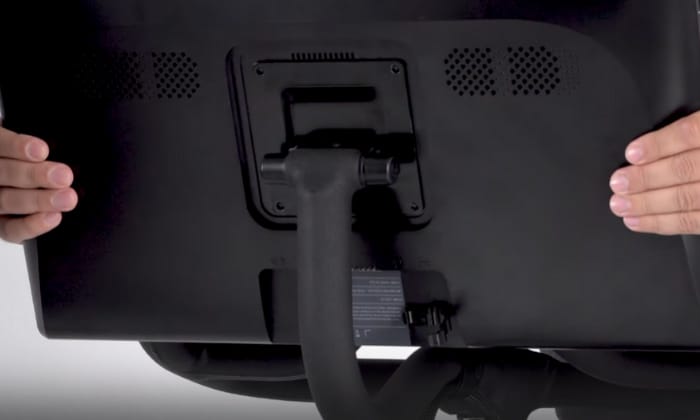
The screen will be free to move once all screws are out, so make sure you have someone to hold the screen while you do this step.
How to Remove Peloton Plus Screen

The Peloton Plus display is mounted with two screws instead of four, and they are found under the mounting arm. The screen slots into the arm, so it’s not as difficult to support as the base model.
- Unplug Peloton screen.
- Position the screen to face the handlebars at a flat vertical angle.
- Rotate the screen 180 degrees to face the other way, now facing away from the handlebars.
- Tilt the screen up as much as possible, then detach the two cables connected at the back, the audio and monitor cables.
- Look at the underside of the screen arm holding the display in place. Use the Allen key to remove the two screws. Remove the display carefully.
Reattaching the Screen
You can easily put a screen back after Peloton disassembly by retracing your steps since there isn’t a lot of detail involved.
- For Bike Plus, insert the back of the screen into the bracket, then apply the screws to secure it.
- For the basic model, you’ll need to hold the unit in position to screw it in place.
The biggest challenge is keeping the screen in place as you tighten the screws. It is much easier to detach than reattach Peloton components when alone. If you have a helper, you’ll be finished in no time.
Don’t forget to return the panel on a standard Peloton and reconnect the cables. Now you’re all set.
Conclusion
Now you know how to remove Peloton screen properly, including what is needed for the task and the differences between models. All that is left is to get your hands on it while exercising caution, and you’ll do just fine.
Have you tried to take off Peloton screen or a display on a similar machine? What do you think is the most challenging troubleshooting procedure for these machines? Tell us about your experiences in the comments section.

“I ride my bike to work for years, but is that enough? Our carelessness towards our surroundings has taken a toll on the environment. And now, everyone is responsible for changes; even the most minor contribution is counted. With this hope and spirit, I started with my partner to establish Biketoworkday to help more individuals commute to their work sites on their bikes.”