Worn-out chains or chains slipping off are common issues you often encounter as cyclists. You would not be surprised when your bike chain sneakily falls off from your bike frame, even when you are on the road. As a responsible bike owner, you have your own ways to put back the bike chain on again. It is a regular maintenance routine that you usually do on your bike.
However, if your bike chain frequently falls off the bike, you might have missed one or two essential steps on how to put a bicycle chain back on. This incident can be equally frustrating, especially when you repeatedly commit the same mistakes.
Thus, to make your life so much easier, we reviewed the step-by-step process of putting a bike chain back on your bike frame. It includes putting the bike chain back from the sprocket, getting the jammed chain off, threading the chain using pedals, and performing the final inspections.
Table of Contents
Why Does Your Bike Chain Fall Off
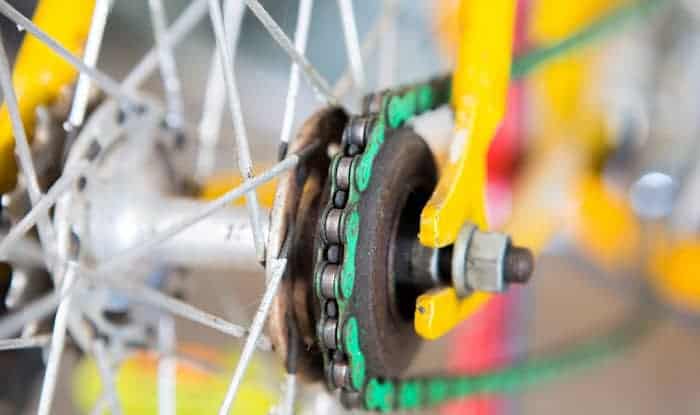
To not miss crucial steps on how you can put your bike chain on again, it is necessary to understand the importance of a bike chain and why it does fall off. A chain is a noticeable part of your bicycle. It is a long and slender part of your bike vital for transferring energy from the pedal to the wheel.
A bike chain is usually made from hardened steel material composed of steel plates stitched together by rivets. These steel plates are durable and highly flexible. They bend as you travel using a drive mechanism coming from your bike derailleur. There are times that your bike chain might fall off, and you need to put them back on. Here are the major reasons why the chain is slipping off:
- Loose part
The simplest reason why your bike chain is slipping off may be a loose component. Therefore, you have to undergo a thorough check-up of your chain and identify which component might be on the loose.
The chain has four main parts – inner plate, outer plate, rollers and pin. You need to check all four of these by wiggling the bike chain. When you hear a rattle or something moves slightly, that part needs tightening up. Then run through the chain again to ensure nothing is loose.
- The chain is very long
There are times that you did not notice that you replaced your bike chain longer than what is needed. If the chain does not fit your bike or pedal perfectly, you will always encounter a chain falling off. Thus, it is important to measure your bike and the chain you will use for a replacement to avoid this incident. You can do this by removing some of the additional links of the chain until it fits right to your bike.
- Worn-out chains
Of course, worn-out chains cannot perform excellently when you are on the road. The chain is already damaged, bent, and hit hard. It needs replacement, so your bike can perform better.
- Shifting your bike too hard
Most bikes come with seven gears used for shifting. If, for some reason, you accidentally shift your bike too hard, expecting an eight gear, your bike chain will come loose. It means that your bike derailleur could over-extend itself to accommodate your command.
After identifying the reasons for your chain falling off and perform some quick fix, yet, the chain keeps slipping, here are the step by step guide you need to do:
- Put back the chain that comes off the sprocket
- Getting your jammed chain off
- Threading the bike chain back using pedals
- Final inspection
Step-By-Step Guide
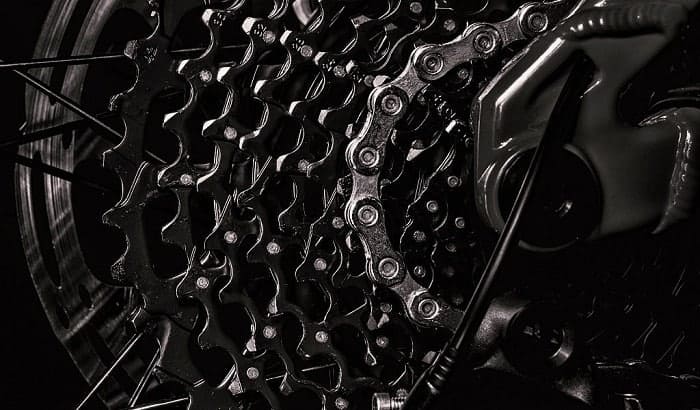
- Chain come off the sprocket
The usual cause of a chain falling off is that it comes off the sprocket. However, you need to understand that the chain is still routed to the front and back derailleurs and does not totally break. In this case, you just have to find the slippage area or where the chain jammed, then slip it back onto the sprocket.
Then, you need to rotate the wheel a little to complete a full cycle to ensure that the chain is back on the teeth again.
- Getting a jammed chain off
If the first step did not work, you are dealing with a seriously jammed chain. It means that the chain is already jammed between the rear sprocket and the frame. In this case, you need to do a different method.
First, you have to identify the quick release of the rear wheel and loosen it. Next, you just need to pull the lever located at the center of the rear wheel and open the quick release. This time, you have to loosen the nut, as well. Once you complete these critical steps, you will notice that the chain can now be easily loosened.
Inspect whether the chain is broken or worn out before putting it back in. Ensure that all the plates and components of the chain are not loose, so it will not get jammed again.
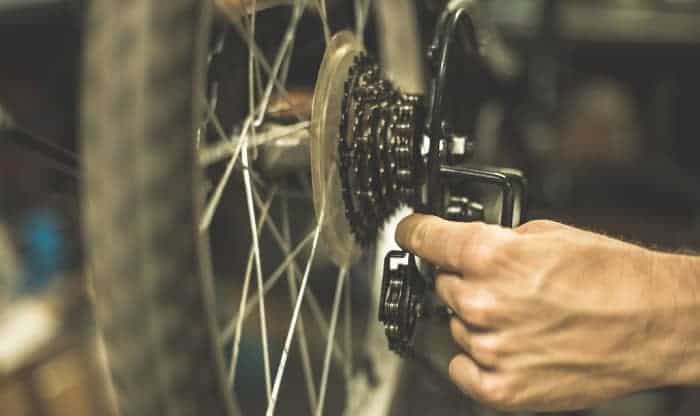
- Threading the bike chain back to its original position
After thoroughly inspecting and ascertaining that it will work perfectly well on your next ride, you can put it back to its original position. This time, you need to thread the chain back in by using your bike pedal.
You can pedal forward gently and steadily until you feel that the bike is now using the right gear. To do this step, you have to get on your bike and pedal at a gradual and precise speed. You will notice that the chain will go right back into the gear where the slippage happens.
If this does not happen, you can keep changing gears until you fully observe that the chain slips back to its original position. After getting back right to its position, you will notice that the pedals are now running smoothly.
- Do the final inspection
Now that the chain is back in its place, you need to perform some final checks. This time, make sure that you are using comfortable gear. You can change your bike gears on both the front and back derailleurs and observe whether the gears produce any noise. If you did not hear any odd sound, and the chain did not produce any noise, the chain is back to its original position perfectly. You already put the bicycle chain back to its rightful position.
Conclusion
Being a responsible and knowledgeable bike owner means understanding the different components of your bike and their respective functions. This will enable you to fix your bike when something feels off and odd. A slipping or falling bike chain is a typical experience for most bikers.
Some even have the proven and the fastest techniques on putting the bicycle bike chain on its gear. However, the guide we mentioned above is the simplest and most effective way to put your bike chain in its original position. May you find this helpful next time you experience a bike chain falling off. Moreover, you may also have to maintain the bike chain, some helpful tips for you are clean bike chain, remove rust and remove a link from a bike chain
Next, if you have something in mind, we love to hear your thoughts. So, do not hesitate to comment below for additional insights and suggestions. Also, if you find this article helpful, you are very much welcome to like and share.

“Bike commuting should be the trend for the next few years, and it is a convenient and eco-friendly way for us to travel. And we are here to make it a bit less troublesome for people who want to maintain their vehicle for a long time. So, the content I expect to put out here is offering help for bikers who are facing issues with parts of their bikes once in a while. Let’s have fun and protect the environment together!”