Knowledge regarding bicycle maintenance and troubleshooting is essential for anyone who owns a bike. While it’s not something you can’t live without, it is certainly helpful. You need to know various things, and how to fix a loose bike chain is one of them.
A bicycle chain that fell off is not a big deal, but if it happens frequently, it may be a sign of a loose chain, which is a serious problem. Knowing how to deal with this is important for any vehicle with gears, such as a bike.
Keep reading to learn more.
Fix a Loose Chain by Alignment or Replacement
There are many possible causes of a loose chain, and each must be addressed differently. We’ll focus on two main causes and their solutions; a misaligned derailleur and a worn chain.
1. Adjust Chain Tightness with the Derailleur
Bicycles with a derailleur misalignment can cause the chain to be loose, adjusting the link will address the problem. You can do this to correct MTB chain tension or even on electric bike. However, not all bikes have this option.
- When it comes to problems with bike chain single speed bicycles don’t have derailleurs, so it’s not even necessary.
- Even on a mountain bike that always uses multiple gears and derailleurs, an adjustment screw will not always be present since it depends on the derailleur model.
Step 1: B-screw and preparation
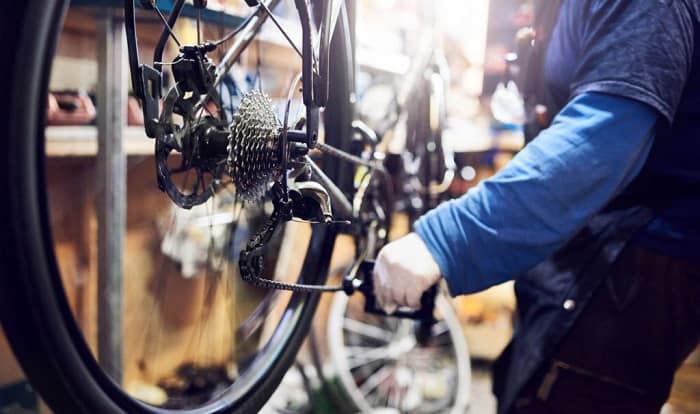
To tighten a bicycle chain, move to your rear derailleur and find the B-screw; This is usually the top-most screw that is responsible for the chain alignment setting. It is also a good idea to check how the chain aligns with the derailleur.
Before proceeding to adjust chain tension bike front gears should be shifted to the smallest gear and the rear gears to the largest one. Now we’re all set to adjust the B-screw.
Step 2: Tighten or loosen the screw for adjustment
You will have to find the right screw setting for each bicycle. Tightening the screw would pull the alignment up, while loosening would bring the position down.
- Loosen the screw as far as you can, but don’t remove it completely.
- If the chain falls off the derail, pick it up by hand and drape it over the correct gear. Rotate the pedal backward and forward a few times to make sure the chain is in place.
- Then tighten the screw bit by bit until you find the alignment that looks right. Try shifting between gears to see if the chain tightness is right and that the shifting is smooth.
2. Chain Replacement
If you’ve been using your bicycle without problems but suddenly find a loose chain on bike, it may have become worn. In such a situation, you will need to replace it with a new one.
What You’ll Need:
- Chain tool/pliers
- Replacement chain
- Grease
- Cleaning cloth
Step 1: Check for wear
The most reliable way to check a chain for damage is by using a CC-3.2 chain checker. It looks like a ruler but has protrusions that can slot into the chain links. The checker will have an o.5 side for 11 and 12-speed chains, and an 0.75 side for 10-speed ones and lower.
- Insert the hook end into the gaps between links.
- Insert the 0.5 (or 0.75) side into another gap (with the hook still connected). If the side slides in easily, it’s time to change the chain.
Before proceeding, shift both front and rear gears to the smallest ones.
Step 2: Remove the chain
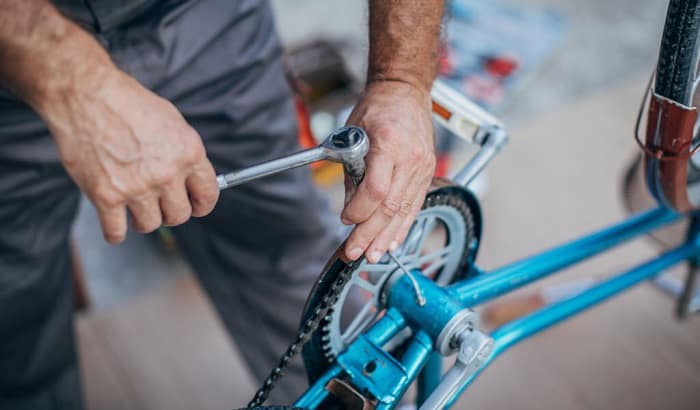
To remove the loose chain, you can either use a pair of master chain pliers or a chain tool.
#Method 1: With Pliers
- Identify the quick link (master link) from the shape of their roller slots that are wider compared to the round slot of standard links.
- Move the master link to the lower side of the chain between the gears and the rear derailleur.
- Insert the pliers into the master link, and press on the tool handles. This will shift one of the rollers and release the locking mechanism of the master link.
#Method 2: With Chain Tool
- Place the link you want to undo onto the two prongs of the chain tool. Make sure the tool will only slide in the chain pin and not any other part.
- Twist the knob on the chain breaker tool clockwise until you feel some resistance; at this point, you will have pushed part of the pin out.
Step 3: Determine the correct size
It is necessary to make sure that you are using a chain with the proper length. Sizing will ensure that you have the right length and number of links.
The simplest method is to compare the new and old ones. Even if the old one is worn, matching the number of links is still a reliable way to determine the proper length.
- If the chain is too long, cut the link with the pliers or chain tool.
- For the former method, the chain needs to be narrow on one end and wide on the other.
- For the latter method, both sides of the chain should be narrow.
Step 4: Put back the chain with master links
Make sure to clean and apply grease to make sure that it stays in good condition. For instance, the chain on a dirt bike often comes into frequent contact with mud, so it’s best to prep it first.
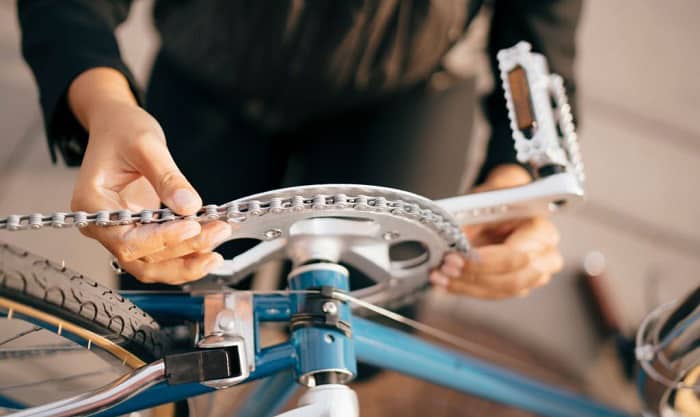
- Place the chain link onto the bike, wrap it around and under the cassette, then into the derailleur.
- To put a bike chain back on, use the master link.
- Use the quick link or the chain breaker tool to put a bike chain back on.
- For the master link, slide the two ends together by hand; hold the rear brake and turn the pedals. The tension from doing this will pull on the chain and lock the links into place.
- Alternatively, you reconnect standard links with a chain tool. Link two ends of the chain together and slide the pin in their slots. Spin the chain tool a little at a time to push the pin snugly into place.
Frequently Asked Questions
Why is the chain on my bike loose?
The common causes of a loose chain are that it is worn, a misaligned derailleur, or damaged gears. A new chain may also be the reason, as it may not be correctly sized for the bicycle.
What happens when the bike chain is loose?
A loose chain can result in accidents from losing control of the bike. It can also cause damage to different parts of the drivetrain. This is why it is important to fix a sagging bike chain right away.
How tight should a bike chain be?
The chain’s tightness can be measured even without tools, and this is done by pulling it away from one side of the gear; if it doesn’t move, it is too tight. You should be able to pull the chain 0.5 inch from the gear, and any more than that means it is too loose.
Should you replace or tighten a bike chain?
A loose bike chain should be replaced if the wear is significant, meaning that the chain wear tool slips into the gaps. Derailleur adjustment is needed if there is a misalignment. It’s all a matter of identifying the problem.
Is it more difficult to fix a slipping bike chain on certain bicycle types?
Yes, addressing problems on multi-speed bicycles is more complicated due to having more components. When we tighten BMX chain with a single gear, there are fewer things to worry about than when we tighten mountain bike chains with many gears.
Can I use any chain on any bike?
No, certain parts have specific component compatibility. Bicycles with Shimano gears are a good example; you need a chain that is compatible with its shifter.
In addition, the chain length needs to be of the right size as well.
Conclusion
Now you know the loose bike chain symptoms to look out for, but more importantly, you know a couple of ways on how to fix a loose bike chain. This knowledge won’t guarantee that you can fix any problem, but it’s a good start.
Have you tried fixing chain issues on your bicycle? Tell all about your experiences and what difficulties you found particularly challenging. Leave us a message in the section below.
Always ride safely.

“I ride my bike to work for years, but is that enough? Our carelessness towards our surroundings has taken a toll on the environment. And now, everyone is responsible for changes; even the most minor contribution is counted. With this hope and spirit, I started with my partner to establish Biketoworkday to help more individuals commute to their work sites on their bikes.”


