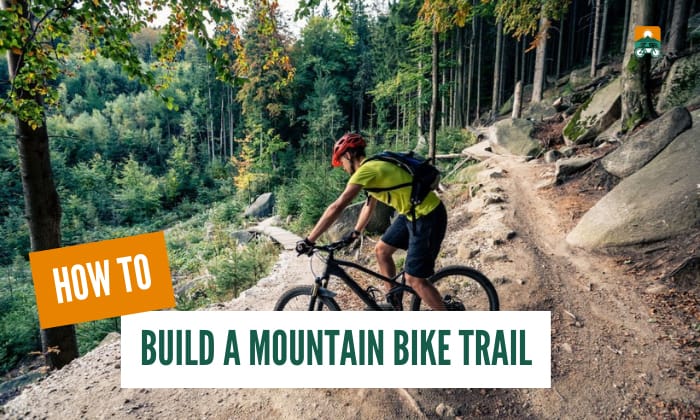
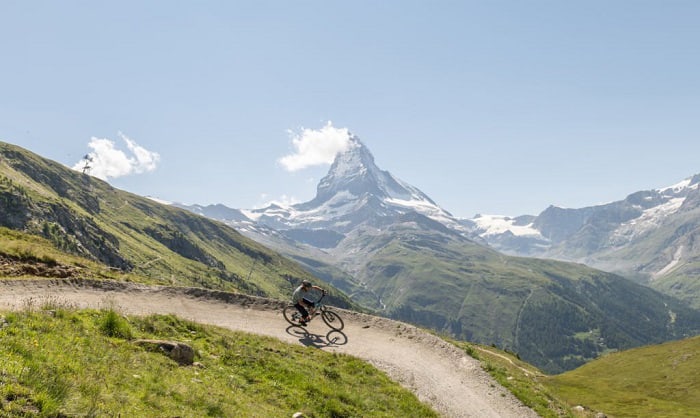
Mountain biking is a thrilling and challenging sport that requires specialized trails to accommodate the unique needs of riders. Building a mountain bike trail requires thorough research, expert knowledge, and practical building techniques.
From selecting the ideal terrain and gradient to determining optimal turns and berms, mountain bike trail building incorporates civil engineering principles, environmental considerations, and a passion for the sport.
In this article, we will provide a comprehensive guide on how to build a mountain bike trail, including the essential steps and considerations necessary for a well-designed trail.
Table of Contents
Step-by-step to Build a Mountain Bike Trail
With proper planning and execution, you can confidently embark on your trail-building journey and create a route that will challenge and inspire mountain bikers for years. It all starts with good preparation.
What to prepare
Building homemade mountain bike trails requires a variety of tools, including:
- Shovels: A good shovel is essential for digging and shaping the trail.
- Rakes: Rakes are used to smooth out the soil and remove debris from the trail.
- Picks: Picks are useful for breaking up hard soil or rocks.
- Wheelbarrows: A wheelbarrow is necessary for transporting materials such as soil, rocks, and gravel.
- Chainsaws: Chainsaws are essential for cutting down trees and clearing brush.
- Pruners: We’ll use these to trim branches and bushes.
- Level: A level is essential for ensuring that the trail is even and safe for riders.
Step 1: Identify and secure land
The first step in building a mountain bike trail is to identify and secure the land.
You can choose either to build on public land or private land. No matter where you’re going to build it, it is important to obtain the necessary permissions. Especially with public land in the woods, it may involve several requirements, including submitting plans and meeting regulatory requirements.
If you have vacant space in your backyard, you can build your own mountain bike route there as you can freely design everything.
It is also important to consider various factors such as terrain, accessibility, and natural features. A good mountain bike trail should have a variety of terrain features such as hills, valleys, and rock formations, which make for a more interesting and challenging trail.
You should avoid building on land that is prone to flooding, erosion, or other environmental hazards that can make the trail unsafe or unsustainable.
Step 2: Design the trail
The next step is to lay out the trail route and flag it in order to have a better understanding about your route and ensure that the final product is high quality enough to ride.
To begin this step, you will need to walk the proposed route, looking for the most natural and sustainable path through the landscape. This can involve using GPS or other tools to make a mtb trail map and ensure that it is the correct length and elevation gain.
Once the bike trail design has been completed, go for a walk and mark it out with flags or other signs. This can include using colored tape or spray paint to color trees or other features along the trail.
After that, you need to refine the route as needed, making adjustments to ensure that it is safe, fun, and sustainable. This can involve removing any obstacles, adding berms or jumps, or re-routing sections of the trail to avoid sensitive areas.
Build challenges into the trail, but tailor it to your ability. Avoid creating unrideable or dangerous features.
A trail with up to 10% in grade, a minimum width of 36 inches, and a turning radius of six feet is the general recommendation, but you can follow the guidelines of the International Mountain Biking Association for further details.
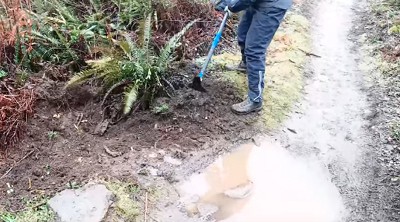
Step 3: Clear the trail corridor
This step aims to lay the foundation for the trail’s construction, which involves removing any debris, rocks, trees, and other obstacles that may obstruct the path of the trail or pose a hazard to riders.
The trail corridor clearing process can be done using a variety of tools, including hand tools such as shovels, rakes, as well as power tools like a chainsaw or pruners. It’s essential to follow all safety guidelines when using power tools to prevent accidents and injuries.
Step 4: Make a mountain bike trail

Once the land is cleared, the next step is to build a flow trail. By using some building tools like shovels, rakes and picks, you can start digging out the trail, shaping the terrain to make a smooth surface that is suitable for riding.
Don’t forget to create features such as berms, jumps, and other technical sections to make your trail more fun.
However, it is important to ensure that these features are built to a high standard with appropriate drainage and safety features. You must also take steps to minimize environmental impact and erosion, such as building structures that prevent water from pooling on the trail.
Step 5: Build erosion control
After building MTB trails, it’s essential to take care of them to minimize erosion as it can cause significant damage to the trail, making it costly and time-consuming to repair in the future. Thus, it’s recommended to take preventative measures to prevent erosion during the preparation stage.
One of the most important things to look for during trail preparation is areas with a steep angle, as these spots are more prone to erosion. Constructions like drain drips and logs or other retainers can be used on the lower part of trails and corners to prevent the trail from sliding or washing out.
Step 6: Test ride

Once the trail is built, test it thoroughly to ensure that it is safe and meets your expectations. You can do this by riding the trail yourself to experience the route firsthand and identify any areas that may need improvement.
As you ride, pay attention to the trail’s flow, the difficulty level of the features, and any potential hazards, such as loose rocks or steep drop-offs that may cause you to lose control or crash.
Step 7: Maintain the trail
Maintenance of the trail is an important step in ensuring its longevity. Regularly inspect the trail for damage, erosion, and other issues. Make sure to repair any damage and make necessary improvements to keep the trail in good condition.
FAQs
What are the features of a MTB trail?
Features are the key to provide a more exciting riding experience for riders. And in fact, you can design and construct some diy mountain bike trail features at home. Here are some common mtb trail features:
- Berm: Banked turns that allow cyclists to navigate corners at higher speeds without losing momentum. They are built up on the outside of the turn, with the inside of the turn at a lower level.
- Jump: Propel riders briefly into the air before landing on the other side.
- Drop: Short descents, sometimes only a few feet high, that end abruptly at a lower level. Riders must approach with enough speed to clear the edge, then land smoothly and maintain control.
- Rock garden: Sections of the trail that are covered in rocks of various sizes and shapes.
- Bump section: A smooth, rolling section of trail with several bumps that allow riders to flow through the section and maintain their speed by pumping rather than pedaling.
How wide should a mountain bike trail be?
The appropriate width of a mountain bike trail can vary depending on several factors, including the intended use of the trail, the level of difficulty, and the type of terrain. However, there are some general guidelines that can help determine an appropriate trail width.
According to the International Mountain Bicycling Association (IMBA), a minimum trail width of 24 inches (60 cm) is recommended for singletrack trails, which are narrow trails designed for one rider at a time.
However, wider trails are often preferred for more technical or difficult sections of roads, or for trails that are heavily used by a variety of different types of users.
For multi-use trails that are shared with hikers and other non-motorized users, a wider trail may be necessary to accommodate passing and ensure user safety. The IMBA recommends a minimum width of 48 inches (120 cm) for multi-use trails.
Conclusion
Become a mountain bike trail builder requires careful planning, attention to detail, and a deep understanding of the terrain and environment. By following the steps outlined in this article, you can create a trail that will provide endless hours of fun and adventure.
So here is how to build a mountain bike trail. I really hope it will make your task less stressful and you’ll be ready to do it yourself. So, what are you waiting for? Let’s make your own route!

“I ride my bike to work for years, but is that enough? Our carelessness towards our surroundings has taken a toll on the environment. And now, everyone is responsible for changes; even the most minor contribution is counted. With this hope and spirit, I started with my partner to establish Biketoworkday to help more individuals commute to their work sites on their bikes.”