
Bikes have become more aerodynamic and user-friendly. For both standard and mountain bikes, wheels have become lighter, and their tires can create friction with the road better.
The bike hubs have also become wider, with most bikes ranging from 100 mm to 142 mm for both the front and rear hubs. Thus, it can be confusing for people who have no experience removing the front wheel of a bike.
But you have come to the right place to guide you with all the necessary steps. Here’s a guide on how to remove front wheel of bike.
Table of Contents
How to Take Front Wheel Off Bike
Removing front wheel from bike could be overwhelming at first, but with the right knowledge and detailed instructions on how to do it, it would be very easy and hassle-free.
It is important to take note of all the bike parts you have to look at in order to make sure that you are using the steps for this specific type of wheel removal.
Step 1: Check for quick release and disc brakes.
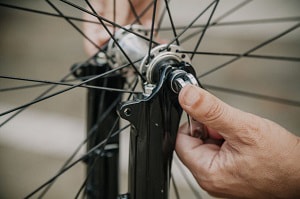
To take off front wheel of bike, check if your hub has a quick release installed near the axle of the wheel.
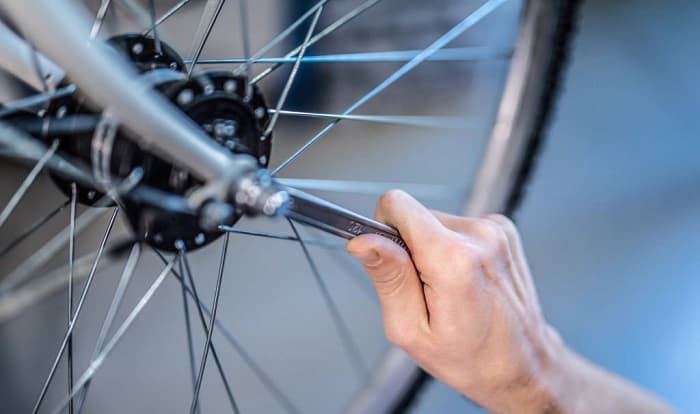
Use a wrench to remove the nuts or bolts that normally attach the axles to the frame to make this procedure faster as you would not need to force more effort than you need.
You should also check the position of your disc brakes. Commonly, they are found at the rear wheels, but they can also be found at the front!
Step 2: Remove the front wheels
If you have a bike with a quick release.
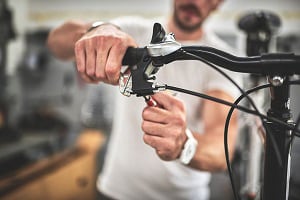
- Check if a quick release is present, especially for modern road bikes. This allows for the fast removal of the wheel without much effort. It also does not require any tools at your disposal.
- Find the right way to do it. There should be an open or closed direction written on the release handle itself. Follow these instructions to tighten or loosen the wheel that is being held by the quick release in a very convenient manner!
- If you can’t see the directions well because there isn’t enough light, a good rule of thumb is to turn any mechanism counterclockwise or downward to loosen it.
Reminder!
It is important not to unscrew the bike wheel quick release, as you will just create unnecessary work for yourself. It would just create an unnecessary effort and give more time to finish disassembling.
The lever can swing a full 180 degrees and has a curved design for easier handling.
It is also necessary to remember that you must not explicitly try to turn the lever more than it should be turned. This would cause a loose thread within the quick release.
If you have a bike without quick release.
Check if you have a bike with no quick release. If it is not there, no worries! Follow the next steps and you will be just fine!
- Find a wrench that will fit the size of the nut connected to your axles. If you can’t find any, check if you have any tools in your tool kit that could work.
- Proceed to turn your bike upside down in a pretty secure place. Make sure it will not easily topple over and that it can take a bit of force as you will need to exert some effort to loosen it.
- Simply relax the 15 mm nuts by turning them clockwise with the tool. You do not have to remove them. When they are relaxed enough, you should be able to take the wheel off without much effort!
Reminder!
If you have a bike with disc brakes and no quick release, the process should stay the same as above.
You do not have to worry about the disc brakes as they are installed together with the wheels themselves.
Once you have loosened the nuts, you should be able to pull the wheel off safely with the disc brakes attached to it.
Take note of the washers that might fall off if you went ahead and took the nuts off completely. You’ll need them the next time you reinstall the front wheels.
Step 3: Store the bike
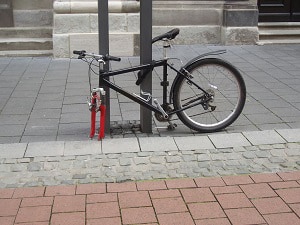
After taking front wheel off bike, it is important to properly store it in a safe place.
- Keep it in a compartment where they cannot fall off during travel if you need to store the wheels in a vehicle for long transport.
- Make sure all the nuts and washers that were taken off are secure. The same should be done for the bike frame. You need to know where every piece is to put them back together quickly and safely.
- Trace the procedure from the last step to the first one if you have to install them again. Reversing the steps you took to take off the front wheels is also the way to put them back in.
Conclusion
Removing the front wheel from your bike may seem like a daunting activity at first, but it’s easy! If you learn from a proper guide, you should be able to take your bike with you anywhere.
This whole process on how to remove front wheel of bike is convenient as it makes bicycles become more accessible and easy to transport and store!

“I ride my bike to work for years, but is that enough? Our carelessness towards our surroundings has taken a toll on the environment. And now, everyone is responsible for changes; even the most minor contribution is counted. With this hope and spirit, I started with my partner to establish Biketoworkday to help more individuals commute to their work sites on their bikes.”