Riding with smooth and efficient gears is one of the greatest joys of cycling. It gives you full control of the machine both in high and low terrains. When it comes to gears, Shimano is a leading brand in the biking industry, and it generates plenty of consumers in the market.
Shimano gears have STI or Shimano Total Integration levers that make them effective. These gears require two levers for them to function excellently. Similar to other bike gears, they also need adjustment to ensure optimum performance.
But how to adjust Shimano gears on a mountain bike? Check this guide below:
Table of Contents
Step-by-step Guide to Adjust a Shimano Gear
Things you need for this tutorial
You will only need a few tools for the shimano gear adjustments. Prepare a screwdriver, positioning clamp, and bike stand in your work area.
1. Adjusting the rear derailleur
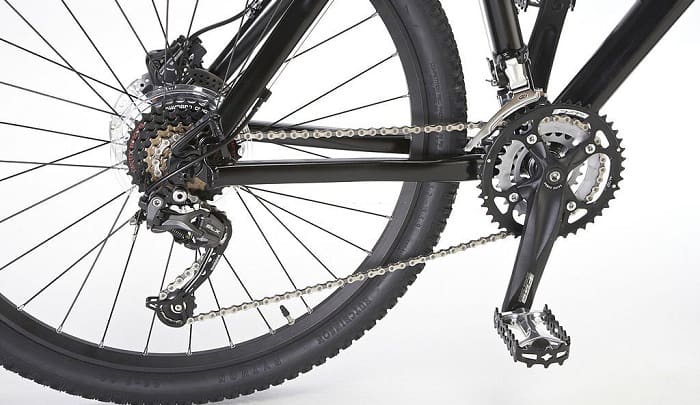
If you observe that the bike chain keeps falling off or the gears have become unresponsive and not efficient during your ride, you have to fix gears on a mountain bike. You can make some changes in both the rear and front derailleur of your mountain bike.
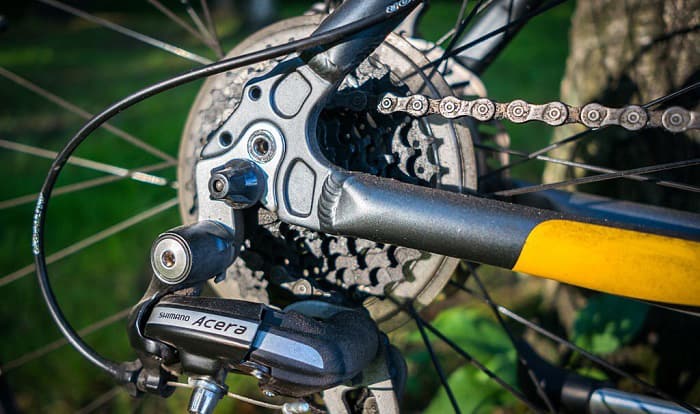
- Step 1: When you adjust the rear derailleur, it is important to check both its upper and lower limit settings. You might need to change the cable tension and use a B tension screw.
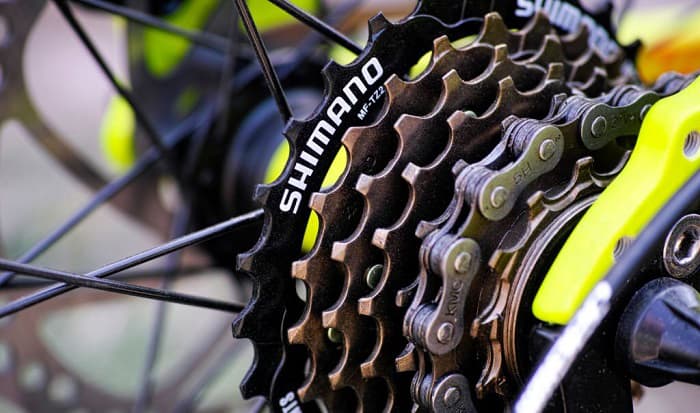
- Step 2: First, make sure that you shift the derailleur way down to the smallest cogs.
- Step 3: Then, adjust the smallest barrel adjuster or the circular knob fixed along with the cable. You need to turn the barrel adjuster in a clockwise direction to make room for other minor changes.
- Step 4: If you want to set the high limit, you need to adjust the higher screws located from a barrel adjuster. To make things easier for you, you can use a screwdriver.
- Step 5: Next, you must adjust the derailleur inward following a clockwise movement.
- Step 6: It is essential that you unscrew a cable anchor found at the base of the rear derailleur. Afterwhich, pull the cable to tighten it, as well as the cable anchor.
- Step 7: Proceed to the shifting of the rear derailleur and move the pedal to trigger the spinning of the wheel.
- Step 8: Ensure that the wheel spins smoothly. If it does not, you can also tighten both the lower limit screw along with the barrel adjuster.
- Step 9: Adjust the barrel adjuster by spinning it in a clockwise direction. Check whether the derailleur is already running smoothly.
- Step 10: Then, move the rear derailleur below the largest cogs. With the help of a screwdriver, make sure that you turn it to the lower limit screw.
- Step 11: Adjust it accordingly, until the screw is tight enough. These shimano rear derailleur installation instructions will help you resolve the gear issue.
2. Adjusting the front derailleur
After you secure your rear derailleur, you can proceed next to the front derailleur. This time, it is much simpler compared to adjusting the rear derailleur. Check whether the derailleur cage is too high or too low. If it is not in the proper placement, you should adjust it.
Inspect the markings of the limit screws of the front derailleur. Normally, you will see ‘L’ or ‘H’ indicating the lower screw and the higher screw. The ‘L’ screw basically should move towards the smallest ring, while the ‘H’ screw goes to the biggest rings.
- Step 1: Ensure that the derailleur is at the correct height. It must fall approximately 1 to 3 millimeters just above the biggest chain ring. If the position is too far from the chainring, the bike will shift badly. If it is too far below the ring, the derailleur will rub against the chainrings. So, make sure that you measure the height accurately.
- Step 2: With the use of a positioning clamp, you can adjust the height of the derailleur. You must loosen your bike derailleur clamp bolt by adjusting it in a clockwise direction. When you reach the desired height, you can tighten it again.
- Step 3: Check the height again by shifting to the middle front chainring. Observe whether the cage is sitting nicely in its position. If this does not happen, you need to shift back into lower gear and adjust the height again using a positioning clamp.
- Step 4: Make sure that the angle of the derailleur and the chainrings are parallel to each other. If not, you have to make the necessary adjustments. Adjust the bolt by loosening it and shifting to the lowest gear of the MTB.
- Step 5: Shift your focus to the barrel adjuster. Turn it to the clockwise direction so that you can release the tension built in the cable. Inspect whether the gear is now shifting nicely.
Frequently Asked Questions
How Do You Know That They Need Adjusting?
Your Shimano gears ensure that your bicycle performs excellently. When your bike is not shifting smoothly or the chain keeps falling off, you need to perform adjusting gears on mountain bike. If you have the basic knowledge on how to use the proper tools, you can perform the adjustment yourself.
How to Change the Rear Derailleur?
Changing or adjusting rear derailleur gear requires you to check the upper and lower limit settings, perform changes on the barrel adjuster and ensure that the bike cable is tight using a screwdriver. To make the process easier, you should see a shimano rear derailleur diagram to know how components should be properly placed.
How to Change the Front Derailleur?
When you adjust bicycle gears, you have to work with a position clamp in order to check the height of the derailleur. Make sure that the derailleur is at the correct height which is about 1 to 3 inches above your bike’s biggest chain ring. This guarantees that your gear will not shift poorly and will not rub against the biker chain rings.
Conclusion
The shimano deore derailleur adjustment is an important maintenance task you can perform by yourself. With the right information and tools, you can do it even at the comfort of your home.
Good thing, this guide on how to adjust Shimano gears on a mountain bike laid out the steps to make the process easier for you. May you find this helpful when you run your MTB maintenance check next time.

“I ride my bike to work for years, but is that enough? Our carelessness towards our surroundings has taken a toll on the environment. And now, everyone is responsible for changes; even the most minor contribution is counted. With this hope and spirit, I started with my partner to establish Biketoworkday to help more individuals commute to their work sites on their bikes.”


