Owning a bicycle requires doing many things, including learning how to take the pedals off a bike. This is important for performing regular maintenance or when you need to replace pedals on a bike.
However, bike pedal removal can be difficult for beginners and may prove to be confusing due to certain intricacies in the process. Let’s take a detailed look at how to do this step by step. With practice, you’ll be able to take it on by yourself.
Table of Contents
What You’ll Need
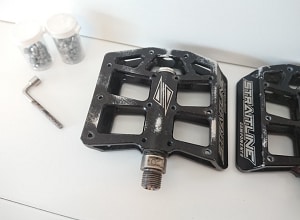
- Allen key
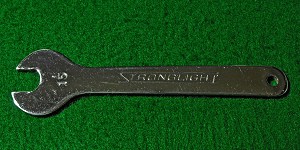
- 15-millimeter wrench
- Grease
- Cleaning cloth
Step-by-Step Guide to Remove Pedals From a Bike
Method 1: With Allen Key
Step 1: Prepare the Bike
Before you start, keep the bicycle upright on a bike stand; this will make it easier to perform the task at hand. You will want to be in a spot where you are free to move between both sides of the bike.
- It is important to note that the left and right pedals are removed differently. To avoid confusion, we will refer to the side with the chainrings as the drive side and the other one as the non-drive side.
To remove bike pedals, the drive side requires turning the bolt counterclockwise, while the non-drive side needs you to go clockwise instead.
Step 2: Removing the pedals
We can use an Allen key or pedal wrench to remove the pedals, but this will depend on what you have on the bike.
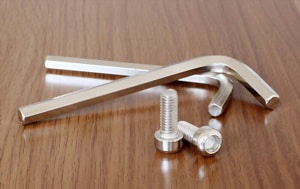
Using each will also be a bit different from the other. We’ll start with the Allen key, where you may need an 8 or 6-mm model, depending on your bicycle.
Most bike pedals can be removed using an Allen key; you can confirm this by checking the back of the pedal arms.
- Turn and leave the pedal in the downward position, and you’ll be able to see where to insert the Allen key from the other side, which resembles a hexagon.
- Insert the short side of the tool into the hex fitting with the long bit facing downward to help you better exert the necessary force.
- Turn while holding the crank arm in place. Position the tool so you can press down on it while unscrewing; this will make it easier to loosen bike pedals.
- After turning once or twice, the bolt will be loose enough that you can change over to the longer side of the tool and remove the pedal more easily.
- Repeat the same procedure for the other pedal but keep the proper direction in mind.
- Put the washer bolts in your pocket for safekeeping.
Step 3: Maintenance
It is important to clean the threads on the pedals and cranks along with the washers. This will keep your bike gears in good condition and make it easier to identify any signs of damage. If it is difficult to remove bike pedals, you’ll need to inspect the bike thoroughly for damage.
In case of damage, it’s a good idea to seek professional help to avoid risks. But if everything looks good, proceed with applying grease to the threads and washers; this will help keep the pedals working properly and make it easier to remove them next time.
Step 4: Reattaching the Pedals using an Allen key
Putting the pedals back should be mostly similar to removing them except for the direction you need to go when tightening the bolts. However, you need to be careful in order to install bike pedals on the correct side.
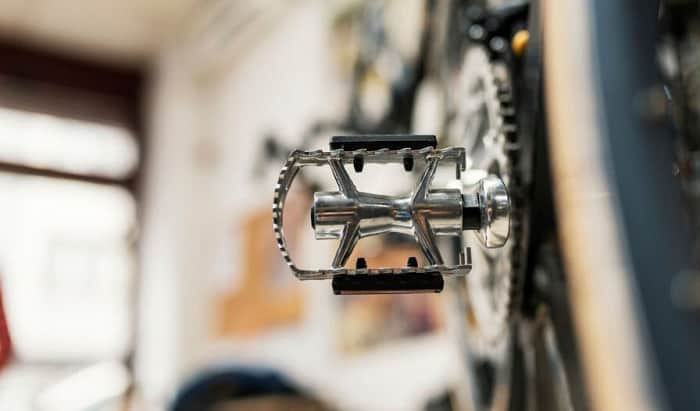
Each pedal is designed for a specific side to make it a balance bike. You can check the markers on the pedal axles to know which side they should go to. L and R are commonly used.
With an Allen key, start threading with the long side and use the short side to tighten and lock it in place.
Method 2 – With A Wrench
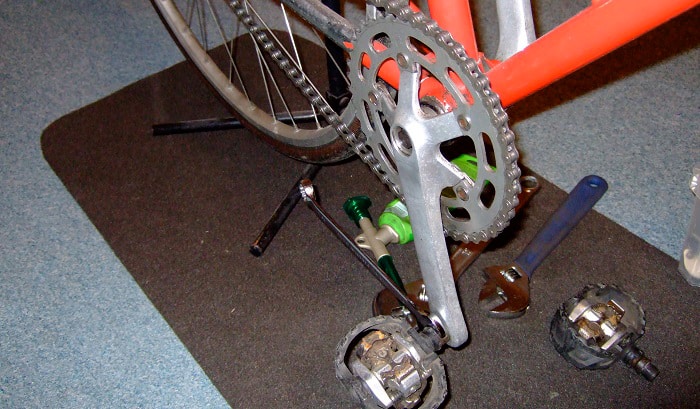
In this method, most of the steps will remain the same. The most notable difference is that you’ll use a 15-millimeter pedal wrench instead of an Alan key to remove the pedals.
- Position the bike in the same way as when using an Allen key; what’s most important is being able to access the pedals.
- Shift the chain onto the largest gear on your chainring to keep it in place while you work on the pedal. This can also prevent you from hitting your arm against the gears.
- Rotate the pedal arm so that it’s parallel to the ground.
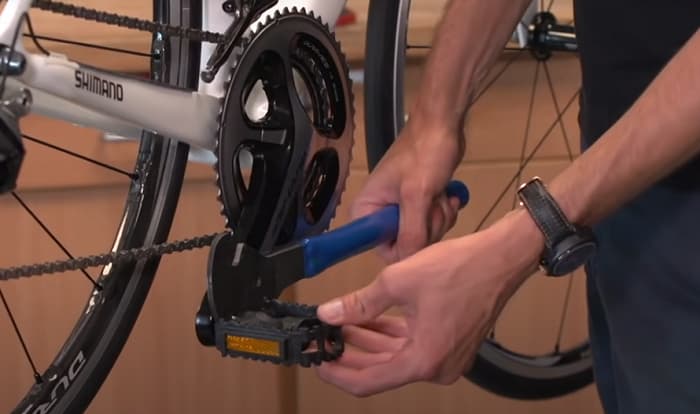
- Position the tool between the crank arm and the pedal.
- Place the wrench, hold onto the right pedal and apply downward force onto the wrench and rotate it counterclockwise to loosen the pedal.
- Keep the wrench in a firm position as you push the pedal arm as you’d normally ride a bike.
- Once the right pedal is loosened, you can remove it completely by hand.
- Move to the left side and turn the wrench clockwise with your other hand to make it easy to push down.
Frequently Asked Questions
When is it necessary to remove a bicycle pedal?
In case of damage, you will need to change bike pedals and replace them with new ones; this is true even for a child’s bike. But this is not the only time when it is necessary to remove them. It is also necessary when performing regular maintenance on a bicycle.
Some types require more frequent maintenance. One example is the mountain bike, which needs to be cleaned frequently, or it could rust. This is different from road bike that still needs maintenance but less frequently.
Can I remove pedals from a bike without pedal wrench?
When you take pedals off a bike Allen key may also be used instead of a wrench, but note that it’s not suitable for all bicycles. You can also make use of a regular 15-mm wrench or spanner. Ensure the wrench can fit between the crank’s arm and the pedals.
What do I do when I have a bike pedal stuck in crank arm?
The first thing to do is to make sure that you are turning in the correct direction when you unscrew bike pedals; refer to step 1 for details on this. If you’re doing it right, but it is still stuck, it may be too tight from rust or lack of lubricant.
Apply penetrating oil (such as WD-40) to help loosen the pedals that are stuck, and try removing them using a 15mm wrench; you may have to put in a lot more effort. If it still doesn’t come off, it may be time to get professional help.
Conclusion
Now you know how to take the pedals off a bike for bicycle pedal replacement or regular maintenance. It doesn’t matter if you’re using an Allen key or a wrench, keep a close watch on the details, and you should be able to pull it off without trouble.
Did you find this information useful? Please feel free to leave your comments or suggestions in the section below. We’ll be waiting to hear from you.
Always ride safely.

“I ride my bike to work for years, but is that enough? Our carelessness towards our surroundings has taken a toll on the environment. And now, everyone is responsible for changes; even the most minor contribution is counted. With this hope and spirit, I started with my partner to establish Biketoworkday to help more individuals commute to their work sites on their bikes.”

