
Do you want to start wheel building and save yourself a couple of bucks? Well, building your first pair of wheels can be a real challenge without a bit of knowledge.
Not everyone has the time and money for getting serviced from a bike shop, so knowing how to lace a bicycle wheel 36 spokes can be a big help.
You will need the right rim and hub to start working on the initial and red spokes. To make your work easier, keep scrolling down for the complete guide.
Table of Contents
What We Need

You have to gather the following things to start bicycle wheel lacing:
- Rim with 32 holes.
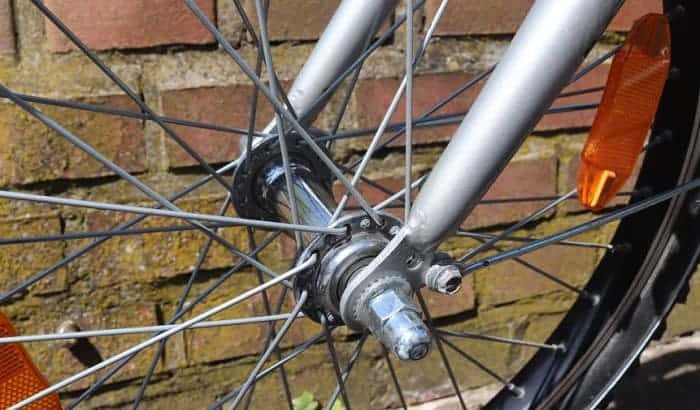
- Hub with 36 holes, having 18 holes at each flange.
- 32 pcs. of spokes.
- 32 pcs. of nipples.
- Foam boards from a ref or tv set to minimize scratches on the floor and rim.
- Medium flat blade screwdriver.
- Spoke key.
Step-by-Step Guide
If you gathered everything, it’s time to start doing the steps in lacing a wheel:
Step 1: Place the Hub
The first thing to do is put the hub with 36 holes in the center and the bike’s rim around it. I highly suggest starting with the non-driving part of the wheel. Usually, this one is on the left side.
Step 2: Work with the Spokes
It’s time to start working on the outside-in spokes. The first thing to do is to put the first spoke in a single hole of the hub. After that, you can go through the rim’s hole that’s somewhat up. You can see this either on the right or left side of the valve hole.
After that, place the nipple on the spoke. This will lock it on the rim. The nipple is good to go after you successfully turned it after five size rotations.
After that, you can proceed with
- All red spokes on the hub as you count clockwise on the following holes: 4, 6, 8, 10, 13, 15, and 17.
- Make sure you leave holes 2,3, 11, and 12 when working with the hub flange,
- And leave out 3 holes in between two spokes on the rim.
Take note that if a digit has two colors, the first one is for the top flange. While the other color is designated for the lower flange.
Step 3: Start Lacing
We will now start the process of fitting the spokes in building a bicycle; we call it lacing.
The lead spoke, also known as the key spoke, comes out of the outside flange. Then, fit it into the rim of the first hole.
Do this in an anti-clockwise manner from the valve hole. Then, screw in a nipple using a screwdriver onto the spoke’s end where it comes out of the bike’s rim.
The key spoke is the same as the others. However, what makes it unique is that this leading spoke goes next to the valve hole. This results in a complete wheel having analogous spokes on each side of the valve.
It’s way different than other wheels that have crossed ones. And what I like about it is that it gives better access during tire inflation.
Step 3: First Trailing Spoke on the Right Side
The first trail spokes point from the flange to the opposite direction of the wheel rotation. This part trails back from the hub as your bike forwards. These spokes are the ones that go with it when you pedal.
You have to fit the primary trailing spoke on the right of the bike wheel. Then, you have to ensure that the right inside flange comes out from the key spoke. This one must also come out from the first hole in a clockwise manner.
Aside from that, the spoke should pass on the inside of two primary spokes. It is where it’s pulled on the third leading spoke, ensuring that it crosses on its outside. Then, the spoke goes to the bike rim at the eleventh hole from your key spoke.
You will have to twist the hub in an anti-clockwise manner and relate it to the bike rim. This will allow all the spokes to fit and take all trailing positions properly.
Step 4: Complete the Trailing Spokes on the Left Side
The remaining first nine leading spokes go the same way. It comes out of alternating holes in the bike flange and leaves out three empty holes in the middle of each rim spoke.
On the other hand, the second set of nine leading spokes fits on the left side of your bike wheel. It goes contradictory to the first set. During this part, the lead spokes may not look like what they seem.
However, you will notice the difference if you start to twist the hub in an anti-clockwise manner corresponding to the rim.
You must do these steps with the utmost care, especially if you want to locate the proper starting hole on the wheel’s left flange. Remember that the left and right hub flanges are not opposite.
This allows the holes in the bike rim to follow each other.
Step 5: Finish Lacing the Remaining 9 Spokes
You’re almost done with wheel lacing. All you have to do is to continue training on the 36 spoke wheel. But this time, do the left side of the wheel.
The process is similar but mirrored. You will notice that a fully-laced wheel may be curved and slightly loose. That’s why following some 36 spoke wheel lacing patterns come in handy in giving the proper tension.
To do this, you have to press them together into the rim and hub.
Screw each nipple to the recess on the outside rim. Do this clockwise to tighten the spokes, pulling all spokes straight and making them even. Next, press the hub’s flange manually in bunches to stress out the natural elasticity.
You can tighten it further using a spoke key. The two main patterns include:
- Three-cross – this pattern comes with 132 or 36 J-bend spokes. This is done in a three-across arrangement.
- Two-cross – this one is found on high-end wheels. High-end bike wheels having straight-pull spokes use 24 or 28 spokes to save mass.
Bikers love how lightweight they can be, which is possible due to the straight-pull spokes that you can tighten to higher tensions. You cannot do this with J-bend spokes, though.
You can watch the following video to learn more about lacing a bike wheel.
Pro Tips:
- Thread your spoke nipples backward to a spare spoke. Then, feed them into the bike edge to stop it from dropping into a profound part of the rim.
- Never mix up different spoke lengths. I highly suggest doing a double-check always.
Conclusion
Did you enjoy this quick and easy-to-follow tutorial on how to lace a bicycle wheel 36 spokes? If you do, help us by sharing this with your friends and family.
Wheel building is never a challenge anymore. You can save bucks and time from going to a bike shop to get it done. So, it’s a total life-saver.
We would love to hear from you, too! Share with us what you think in the comments, and any suggestions are surely appreciated.

“Bike commuting should be the trend for the next few years, and it is a convenient and eco-friendly way for us to travel. And we are here to make it a bit less troublesome for people who want to maintain their vehicle for a long time. So, the content I expect to put out here is offering help for bikers who are facing issues with parts of their bikes once in a while. Let’s have fun and protect the environment together!”