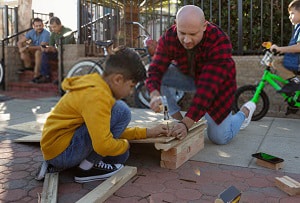
One of the best ways to have fun and maximize the use of a bicycle is through a bike ramp. If you have already mastered cycling uphill and downhill, the next step is levelling it up with a ramp. A bicycle ramp is a great approach to learn techniques and improve balance even at the comfort of your home.
You can create stunts, jumps, and flips with some wood built together using tools in your home repair kit. It will only take four to five hours to make a bike ramp if you read our how to build a bike ramp guide. Here are the steps you will need to take:
- Make three cross beam supports
- Cut the vertical supports
- Make the bike ramp deck
- Build a base plate
- Assemble all the pieces together
- Install the ramp deck
- Install the base plate
This way, you can have the perfect equipment to enhance your cycling skills.
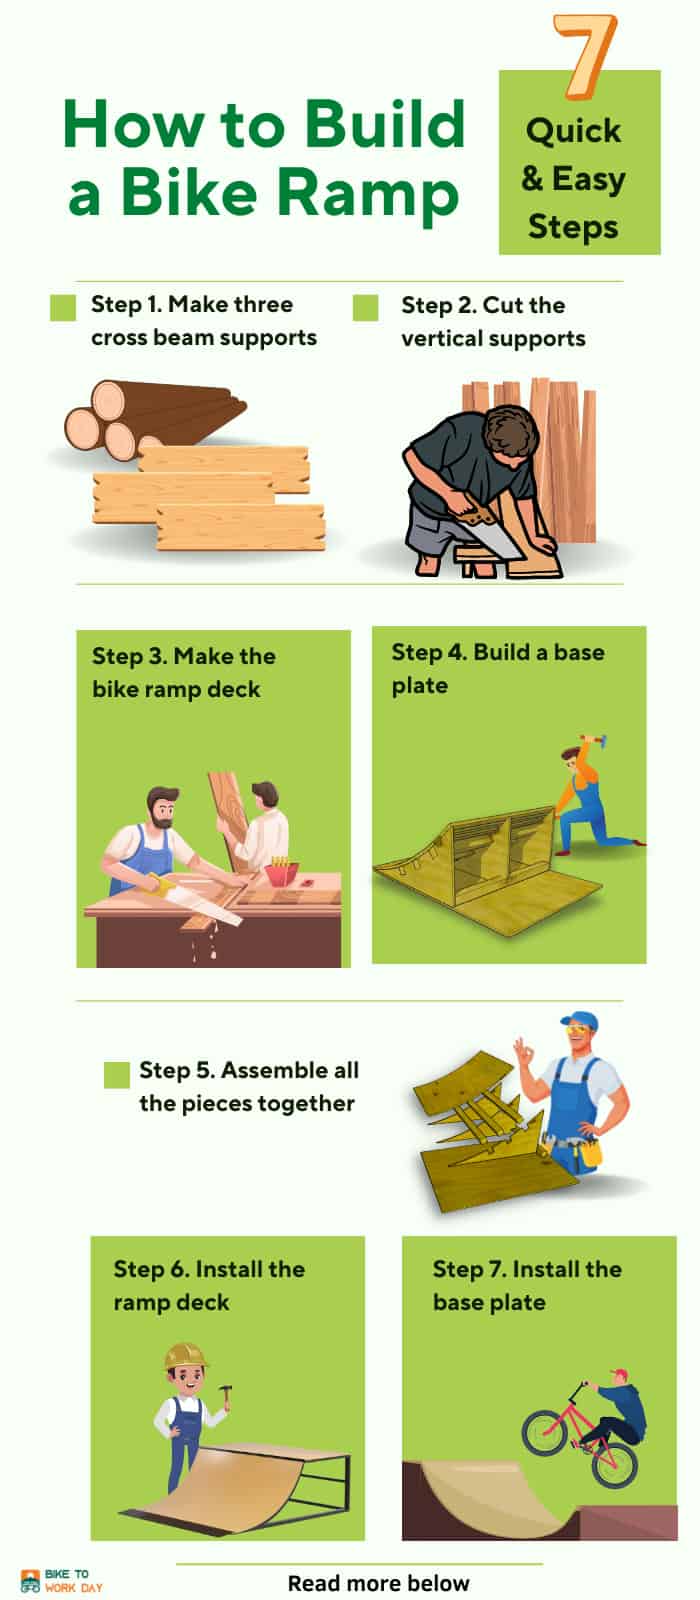
Table of Contents
Things You Need for This Tutorial
Building a DIY bike ramp depends on the availability of space you have at home. Normally, a small size bike ramp can fit into a garage or backyard, and still offer enough space to move around.
For a small-sized bike ramp, here are the materials you need to make a bicycle ramp:
- 3/8″ plywood sheet
- 2x4x10
- Table or Circular Saw
- Jig Saw
- Drill and bits for pilot holes
- Driving screws
Once you gather all the materials, you can follow the steps below to build a ramp for a bike:
- Make three cross beam supports
- Cut the vertical supports
- Make the bike ramp deck
- Build a base plate
- Assemble all the pieces together
- Install the ramp deck
- Install the base plate
Building a Diy Bicycle Ramp in 7 Easy Steps
Step 1. Make three cross beam supports
To make a bike ramp, it is important to have three cross beam supports. The cross beams should be identical. The wood pieces support the ramp deck by locking the vertical supports together.
For this step, saw the 2x4x10 in half. Cut them into a desired length of 24” until you make three beams. Then, cut an extra support beam around 23” long for the bottom edge on the back.
Step 2. Cut the vertical supports
Then, proceed to cutting the vertical supports. You need a total of three vertical supports to make a good quality bike ramp. Ensure that each of the vertical supports have the same measurements.
You can start by cutting the plywood into rectangles with a measurement of 24”x12”. Make sure that you cut three rectangles from the same plywood. Then, sketch a curve on one side to create the foundation of the bike ramp.
After you sketch a curve, you can use a jigsaw and cut a curve by tracing the sketch you made. Repeat this process for the rest of the rectangles you cut from the plywood. Once you have identical vertical supports, cut slots for the cross beam support.
For the slots, you should find three points on the curve – top, middle, and bottom. Outline the cross beam so the three slots can accommodate the cross beam properly. Start cutting the slots using a jigsaw.
Fit the slots to your cross beams and adjust them accordingly. Ensure that the beams and vertical supports have the correct fitting so they can interlock. It will guarantee that your bike ramp’s foundation is solid and will not separate while in use. Then, place the 23” beam support you cut earlier horizontally at the back while providing enough spacing for the vertical supports.
Step 3. Make the bike ramp deck
After you have built the foundation of your homemade bike ramp through the cross beams and vertical support, proceed to deck cutting. For the bike ramp’s deck, cut the plywood into 24” in width and 26” in length. You can use a table saw or circular saw for this process.
Step 4. Build a base plate
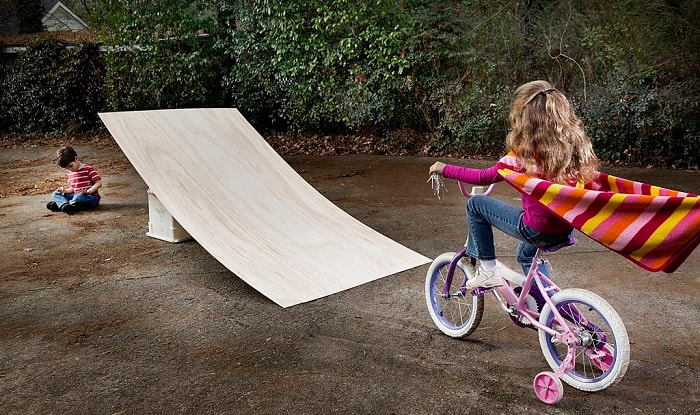
Since it is a portable ramp, you have to ensure that the ramp will not sway or move when you use it. With a base plate, the ramp will be kept in place. For the base plate, cut the plywood to be 24” wide and 34” long. The base place should be able to extend up to 10” beyond the bike ramp.
Step 5. Assemble all the pieces together
By this point, you should have the major components of your bike ramp – cross beams, vertical supports, deck, and base plate. You can now put these parts together.
For this process of building a bike ramp, you have to look for an even and clean surface. Then, screw the outer area of the vertical supports into the bottom cross beam. Ensure that the supports have enough spacing and are lined up. You can use screws to attach the vertical supports into the bottom beam.
After you install the vertical supports, put the horizontal cross beams on top. Check that the cross beams fit into the slot on the vertical supports. You can use screws to make sure that the beam and supports are attached properly.
Repeat the process for the rest of the cross beams. After the installation, the assemblage should be solid and sturdy.
Step 6. Install the ramp deck
The last components you should attach are the deck and the base plate. You can install your newly cut ramp deck and align it on the ramp frame. Ensure that the back side of the deck is steady.
You can drill a hole through the deck passing through one of the cross beams. Use a screw to hold them together. Make sure that the deck is installed properly on the frame. You can use several screws to guarantee that the ramp deck installation is stable.
Step 7. Install the base plate
For the last step, turn the bike ramp upside down so you can install the base plate. Align the base plate to the ramp drill pilot holes, and drive screws into the vertical support and bottom cross beam.
Conclusion
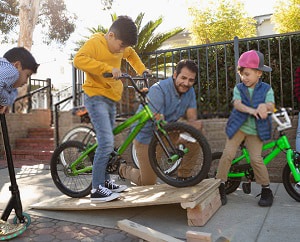
For bikers who want to spice up their cycling game, we recommend using bike ramps for jumping. It can help you develop bike handling skills, while at the same time, elevate the fun of riding a bicycle. With this detailed guide on how to build a bike ramp, you will never have to go to a bike park to learn new tricks and techniques.
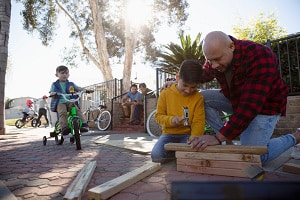
Even when you have limited woodworking skills, you can build a mountain bike ramp using the steps we mentioned above. This bike ramp is easy to move around, but still offers the stability and durability you need for everyday biking.
Read more: Steps to build a motorized bicycle from scratch.

“I ride my bike to work for years, but is that enough? Our carelessness towards our surroundings has taken a toll on the environment. And now, everyone is responsible for changes; even the most minor contribution is counted. With this hope and spirit, I started with my partner to establish Biketoworkday to help more individuals commute to their work sites on their bikes.”