Performing routine adjustments for bike brakes is advisable especially for those regularly on the road. It ensures that the brakes can constantly deliver excellent performance. Adjusting the brakes also guarantees road safety and provides full control on cycling.
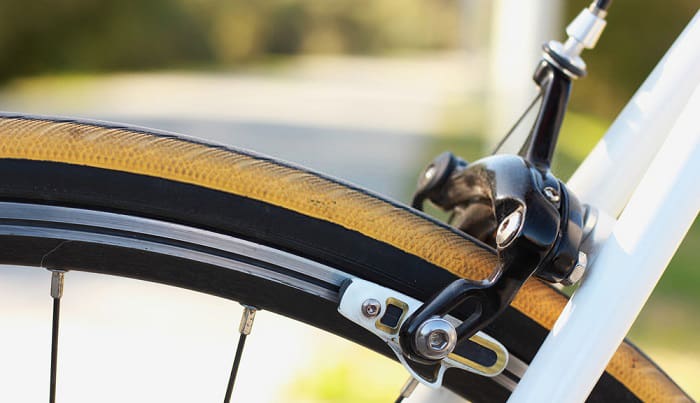
However, brakes come in several types that require a specific process of adjustments. The most common type often used in MTBs is the linear pull brakes or the v-brakes. This specific type features brake arms with a brake pad and is supplemented by a cable attachment.
Adjusting v-brakes may seem complicated, particularly if it starts misbehaving. You need a step-by-step guide to walk you through the entire process and prevent damaging the brake system. Briefly, here are the steps you should follow:
- Align the brake levers
- Examine the brake pads
- Adjust the brake arm tension
- Re-install the brake pads
- Align the brake arms
- Check the cable tension
- Center
Luckily, we made this tutorial about how to adjust v-brakes straightforward. You do not need to go to your mechanic for routine brake adjustments.
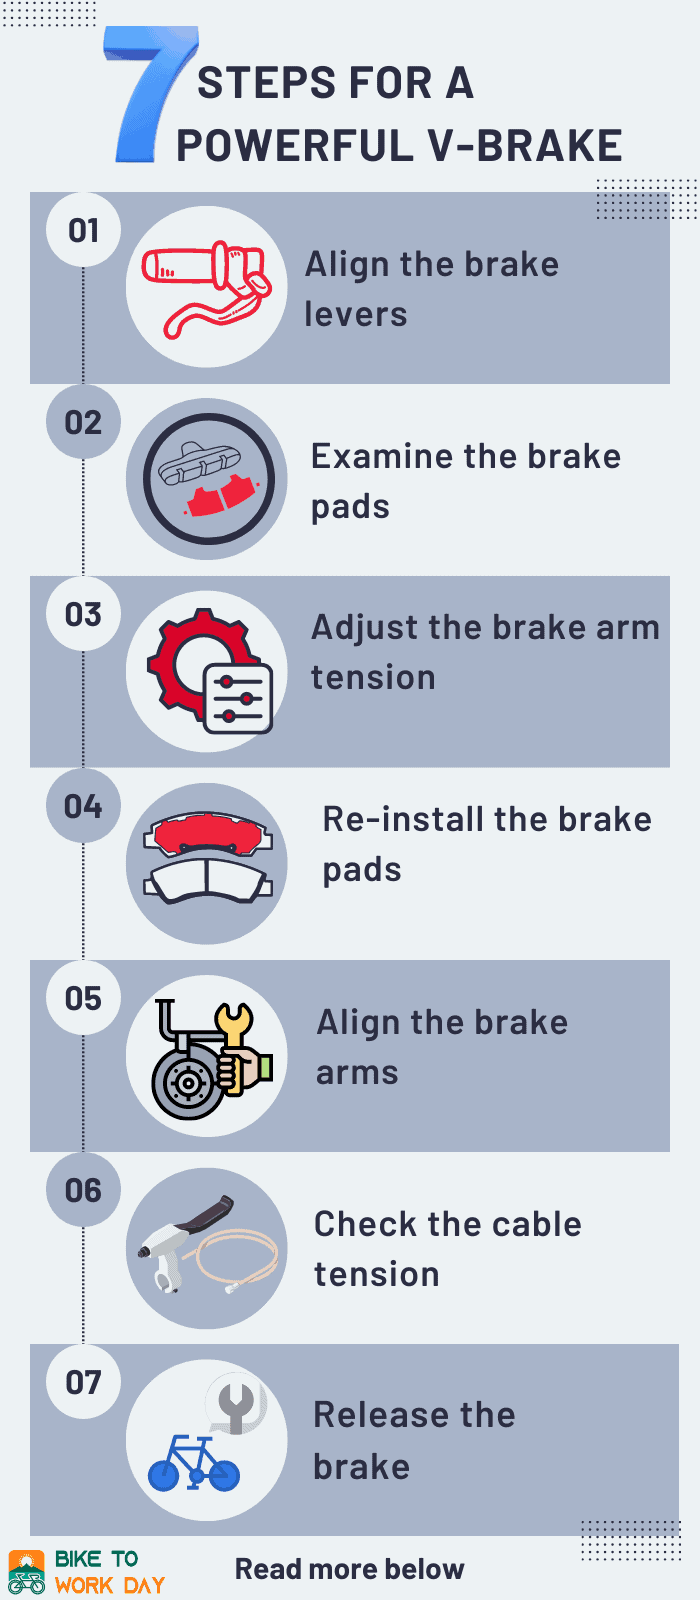
Table of Contents
Things You Need for This Tutorial
V-brakes are one of the many types of bicycle brakes widely used in the biking industry. It revolutionized the rim braking performance for both off-road and hybrid bikes. It provides an impressive braking system with two long arms that gives leverage once you pull the brake cables.
With two levers connected to cables, v-brakes deliver excellent performance. It is a powerful braking system that can slow and stop even wet or muddy bike wheels. This makes the brake perfect for both mountain bikes and off-road bicycles.
Once you pull the lever, the cable would immediately receive the movement and trigger the brake to put pressure on the brake pads, slowing your bike down. It has a mechanical advantage compared to overly used disc brakes, and is more affordable and easy to maintain.
Whether it is a regular v-brake system or shimano v-brake adjustment, the process should never be too complicated, especially if you are equipped with the right information and tools. When adjusting v-brakes, you need an Allen key, screwdriver, sandpaper and cable puller.
7 Steps for a Powerful V-brake
Step 1. Align the brake levers
In adjusting brakes on a bike, the first thing to do is ensure that the alignment of your brake levers matches the angle of your arms when biking. You can do this by loosening the clamp, then checking whether the levers are in line with your arms when in a riding position.
In case you have hands smaller than the average, you can opt to set the levers closer to your body by tightening the screw attached to the levers. Ensure that you are comfortable with the position and alignment of brake levers in your bike.
Step 2. Examine the brake pads
Brake pads are important parts of your bike brake system because it is the one stopping your wheels from moving. When you adjust v-brakes on a bike, it is essential to inspect the brake pads.
You can do this by relaxing the position of your brake cables. Then, tighten the lever’s barrel adjuster entirely. You can pull away the protective rubber back and use the cable’s quick release system.
You can now easily remove the brake pads from the system. Take note that the v-brake pads come in two sets of positioning washers on every side of the brake arm. Pay attention to the position of the washers so you can put them back properly after inspecting the brake pads.
Check whether your brake pads are worn out. If they are already damaged, you have to replace them. If they are still in good shape, you can use sandpaper to smoothen your brake pads.
Step 3. Adjust the brake arm tension
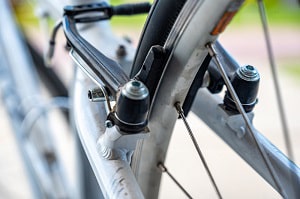
After inspecting your brake pads, you can proceed to your bike’s arm tension. Ensure that the brake arms enjoy a good spring tension. If not, the release cannot be smooth when you free the brake lever.
If you notice that the brake arm does not have enough tension, it is now the right time to adjust them. For the adjustment, it is important to increase the level of tension on both sides. To do this, you have to undo the bolts attached to the brake arm without removing them totally.
Then, you will see a spring at the backside of the brake. In a v-brake system, the spring passes through one of the three holes found on the bike frame or fork. You have to move the spring going to the top hole in order to increase the tension on your brake arm. After getting the desired tension, you can tighten the bolt on the brake arm.
Step 4. Re-install the brake pads
After using sandpaper and re-surfaced the brake pads, you are now ready to put them back to their original location. Ensure that the washers you removed a while ago go back to its proper setup.
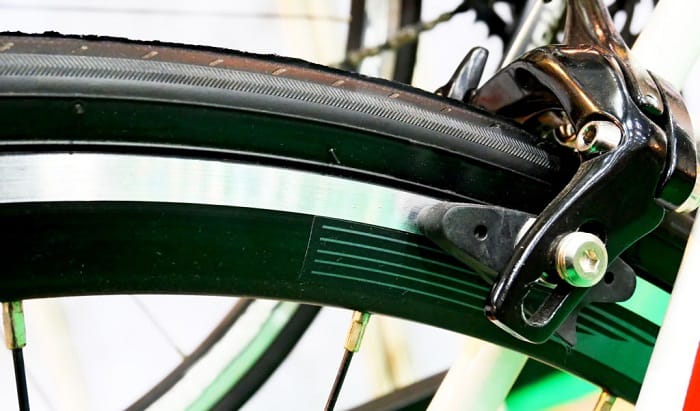
Check that the alignment of brake pads is laying flat against the bike rim. You have to take note that both the front and rear brake pads can touch the bike all at the same time. In this way, it can deliver correct braking performance. Another thing to observe is that the brake pad should be in line with the rim’s brake surface and in contact with the bike tire.
(Pro tip: Brake pads should normally be adjusted by 5mm fitting, and must pivot up to 20 degrees after adjustment. It should sit on a pair of washers allowing the brake pads to pivot properly)
Step 5. Align the brake arms
Now that you have installed the brake pads properly and have checked the brake arm tension, proceed to aligning the brake arms. Make sure that the brake arms are facing straight up and down once the pads touch the rim.
If you notice that there is a significant distance between the two, consider re-positioning the washers you installed. It is important that the distance between the brake pads and the rim are not too wide or too close. In case the distance between the two is too far, you must position the washers closest to the brake pads. If it is too close, only the largest set of washers should be tight with the brake pads.
Step 6. Check the cable tension
The next thing you should look at is the cable tension on the brake arm. You can do this by adjusting the pinch bolt and tightening it. This step involves a lot of trial and error, so you should adjust the tension gradually until you can feel that the brakes run smoothly. Adjust the cable tension depending on your desired level of pressure the brake puts.
Step 7. Center
This is the last step to do when you adjust v brakes on a bicycle. After you have adjusted all the major components of the v-brake system, observe what happens when your brake is released.
Normally, once you release the brake, the brake shoes should retract away from the rim. If not, your v-brake is not properly centered. In centering the brake, make sure that the wheel is conveniently installed straight in the frame or fork.
(Pro tip: For this process, make sure that brake pads are with equal distance from the rim. You can tighten or loosen the set screw found at the brake arm to center the brake successfully)
Conclusion
V brake adjustment seems to be too complicated, but if you follow the instructions thoroughly, you might find it simple and easy. There may be some technicalities with the entire procedure, but this can be addressed if you familiarize yourself with the different parts of the v-brake system.
You must identify the various bolts, washers, and cables attached to the brake, and understand their original position. Then, follow this guide on how to adjust v-brakes and take note of which part should be adjusted before the other. Once you memorize the sequence of adjusting v-brakes properly, you will find the process simple and enjoyable.

“I ride my bike to work for years, but is that enough? Our carelessness towards our surroundings has taken a toll on the environment. And now, everyone is responsible for changes; even the most minor contribution is counted. With this hope and spirit, I started with my partner to establish Biketoworkday to help more individuals commute to their work sites on their bikes.”