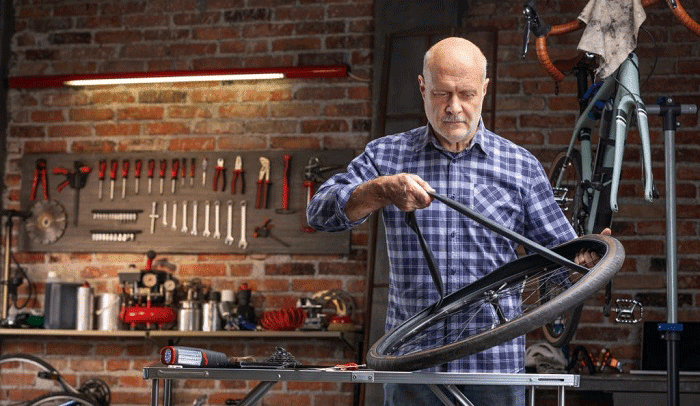
Do you feel hopeless when your bicycle tires are punctured in the middle of riding your bike? Bike owners like us have been there.
This nerve-wracking situation is worrisome, especially when we have a busy schedule ahead or when we’re on the side of the road. But learning how to change a bike inner tube doesn’t have to be complicated and stressful.
Replacing your bike inner tube is easy if you have the right tools and follow the correct process. This tutorial will help you navigate when you have a flat tire.
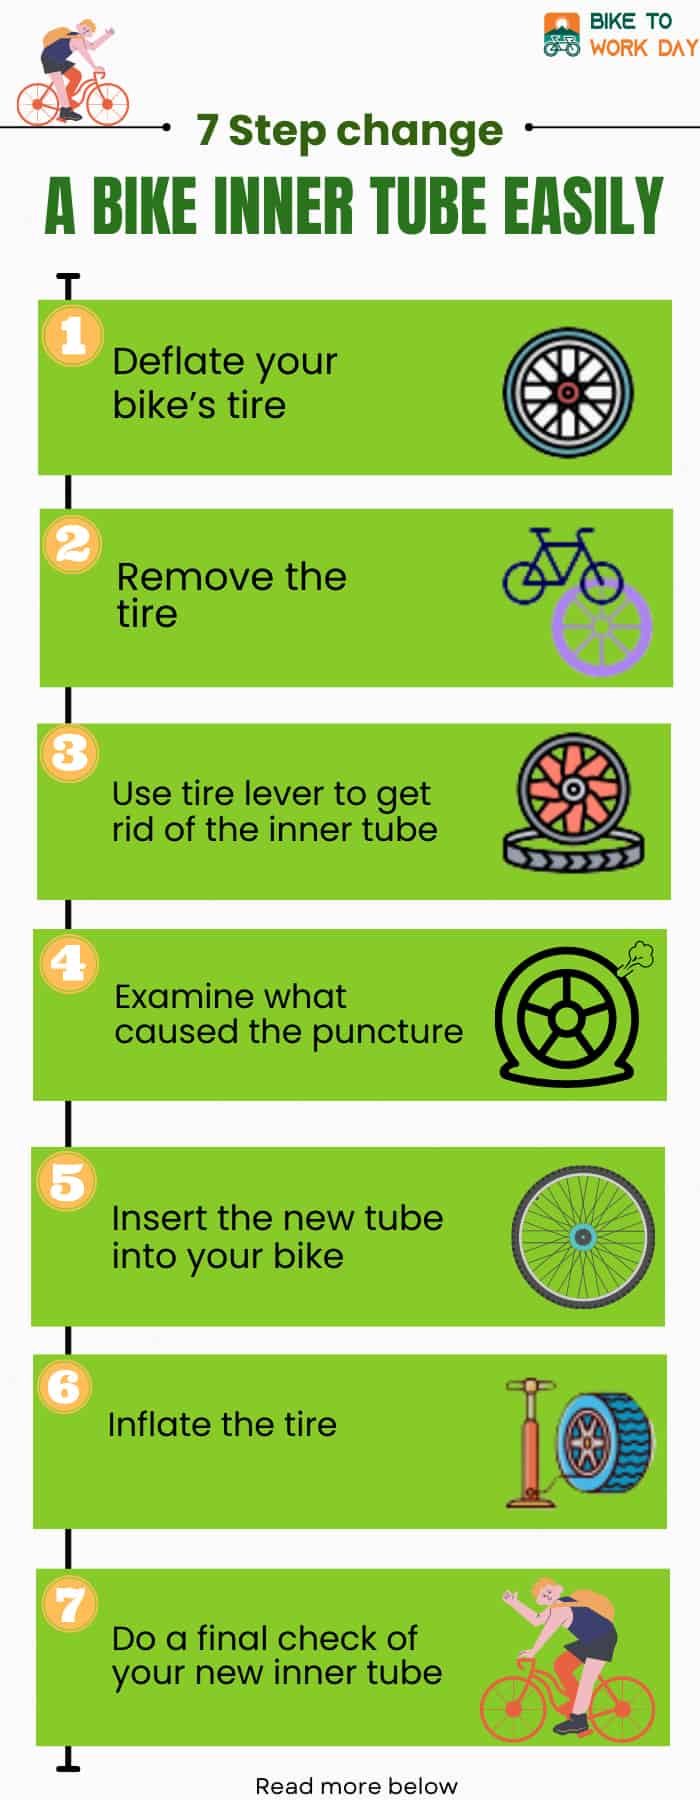
Table of Contents
Gather the Following for This Tutorial:
These are some of the essential tools needed when you want to replace the inner tube of your bike.
- Air pump
- Bike Tyre Levers
- Gloves
- Replacement Inner Tube
- Screwdriver
- Towel
- Wrench
Start Changing Your Bike Inner Tube
Follow through these simple steps, and you can replace your bike’s inner tube in no time.
Step 1: Deflate your bike’s tyre
To begin, place the bike upside down and take the bike wheel away from it. If the tyre isn’t already completely deflated, free the air pressure of the internal tube by slightly loosening and then pressing the little barrel above the Presta valves if you have them. Loosen and take out the knurled nuts at the valve’s base.
If you’re dealing with a child’s bicycle or an MTB having car-style Schrader valves, press down the pin in the middle of the valve to free the air.
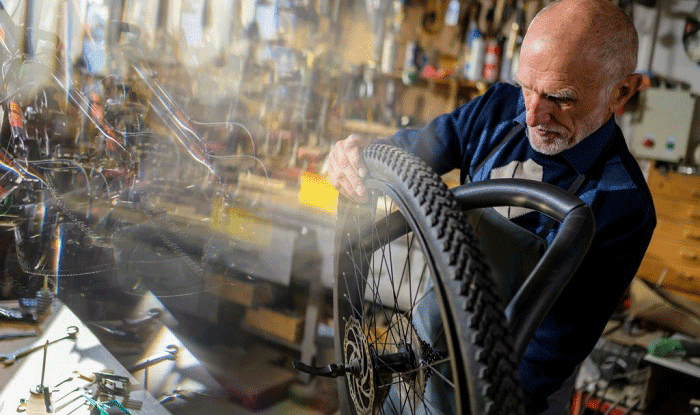
Step 2: Remove the tire
When the inner tube is already flattened, push the tire inwards to force the tyre bead to the rim’s midpoint. Apply this step on the two sides of the tire until the wheels feel baggy.
If the tire is loose, shake it to get the slack to one place, or else, you’ll have to move the tire around the wheel in opposite directions at the same time, aiming for as much slack as possible when your hands get close to each other at the bike wheel’s bottom part.
If there is a lot of slack or you feel kind of strong, depress the tire’s edge off the bike rim using your thumb.
This eliminates the possibility of trapping the internal pipe between the bike edge and the tire lever and perforating it.
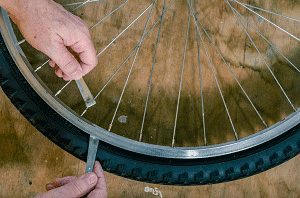
Step 3: Use tire lever to get rid of the inner tube
Be cautious when you use a tire lever. Remove the dust cap from the valve stem, then remove the fastener. Place both levers about 2 centimeters or 1 inch apart under the bead, with the ladle part underneath the tire’s bead.
To avoid punctures, ensure that you haven’t trapped the inner tube valve against the rim with the other side.
Apply pressure to one of the levers to elevate the tire over the rim, then do this again on the other lever to clear a larger area of the tire. To avoid the tire slipping back onto the rim, hook a single part of the tyre lever around the nearest spoke.
If the tire is extremely tight, you may have to use two levers at the same time to pry the bike tire over the bicycle rim.
Be careful if you use two levers to deal with an extremely tight tire, as there is usually a hazard of flying components.
Go around the wheel, removing the tire’s edge from the rim. Take note that you are not removing the tire entirely. Only one side of the tire must be removed (keep the far side where it is).
Work the tyre lever around the entire tire until the inner tube is entirely off the bike tire. Gradually draw the inner tube out after pushing the valve back through its hole.
Step 4: Examine what caused the puncture
With the internal tube detached, inspect the tire for any disfigurations or tread ruptures. Partially fill the inner tube. You should be able to hear or feel little air escape from the hole. Once you’ve located the hole in the tube, match it with the tire.
Inspect for spikes, nails, and other objects that may have infiltrated the tyre and take them away. Or else they will puncture the new internal tubing. Check the wheel rim for sharp edges and splits as well.
A pinch puncture is most likely if the hole is on the inner border of the tube. When the tire caught the tube, the rim tape was either not in the proper place or not present at all. If this is the case, use extreme caution when re-inserting the tube.
Be cautious when you examine the inner tube. You don’t want to puncture yourself as you run your fingers around the tire’s internal area. Make this step easier by wearing gloves.
Remove the objects by hand from the tube if you see something obvious such as glass or a nail. If it’s particularly stubborn, use the screwdriver to pull it out. Then, use the towel to rub around the inside of the tire to see if it sticks on anything else.
Once you’re satisfied with the tire’s condition, place the tire label over the valve hole. It’s time to insert a new tube into your bike.
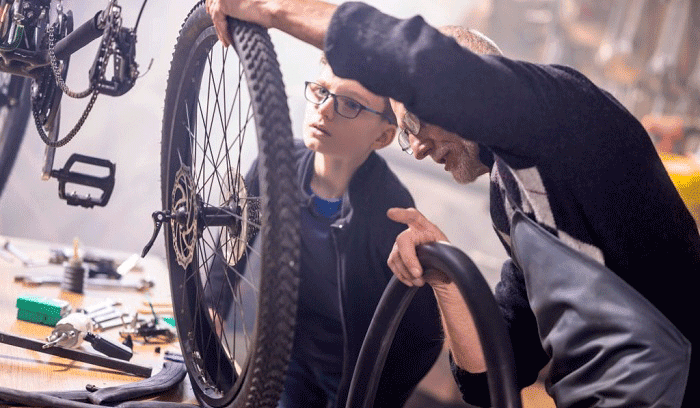
Step 5: Insert the new tube into your bike
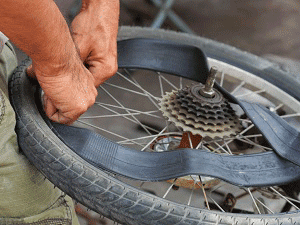
Purchase a bicycle inner tube replacement, making certain that it’s the correct size.
Fill the internal tubing enough to give it shape. Take out the threaded collar and slide the internal tube valve into the rim.
Knead the internal tubing into the wheel’s belly, so it doesn’t protrude over the rim’s edge. Take care not to twist or pinch the inner tubing when you do this.
Starting from the opposite part of the valve, start coaxing the tire over the rim with your thumbs. When dealing with close-fitting tires, recall how you shifted the tire’s slack into one place. Try to repeat that step when you press the tire to the back of the bike rim.
It’s good to have as much slack as you can for the final stage of the procedure. Take extreme caution not to make a hole in the inner tubing.
When it’s hard to get tyres on any farther by hand in replacing bicycle inner tube, carefully place the tyre levers beneath the tire edge (roughly an inch or 2.5 centimeters apart from every end that requires fitting). Place one lever against the tire to prevent it from slipping back, then pull the tire on the edge with the other.
Step 6: Inflate the tire
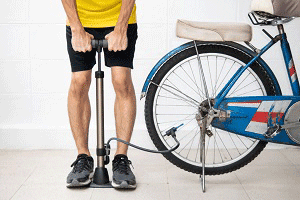
Once the tire is installed, double-check for any portions of the internal tubing poking out. Move the valve back into the tire to ensure it is not stuck, and then put back the lock ring on the bike’s valve.
Pump the tire gently once the tire is locked behind the rims. Carefully spin the wheel to look for any bumps.
If everything appears to be in order, proceed to pump to the desired pressure. Get the wheel in the dropouts, then tighten the quick release skewer and brakes.
Step 7: Do a final check of your new inner tube
Put away the hand pump and spin the tire to recheck the alignment vertically and on both sides. If you notice anything unusual, deflate and knead the afflicted part before you re-inflate.
On the initial few rides using your new tube, carefully inspect the tires regularly in case something is amiss.
Now that you have a concrete idea on how to replace bike inner tube, you can quickly replace the inner tube of your bike in no time. In case you have questions regarding the whole process, you can also check out this video tutorial.
Pro Tips:
- Use gloves when replacing bike inner tube.
- Be careful while dealing with moving parts, as you may get pinched.
- If you don’t have a spare bicycle inner tube on hand, you may always attempt a DIY puncture repair. Here’s how:
Mark the hole with a pen or chalk once you’ve located it.
Dry the surface and gently massage it with sandpaper. Then, press and smooth the glue around the hole, allowing it to sit.
Remove the patch from the foil and press it firmly against the glue to remove any bubbles. It’s always better to do this on a flat surface.
After the adhesive has dried, sprinkle the chalk over any exposed glue to prevent it from sticking to the interior of the tire.
- If your butyl rubber inner tube is darker than usual, that’s a sign you should replace it.
Conclusion
Did you enjoy following the simple steps above?
As long as you know how to change a bike inner tube, nothing can stop you even if your tire gets punctured on your next bike ride.
Keep in mind that replacing bike inner tubes isn’t rocket science, and everyone can do it entirely on their own.
We’d also love to hear from you! So, let us know how changing your bike’s inner tube went. If you have any suggestions for other bike owners, share them in the comments section. Sharing this article can also help us a lot, so we’d greatly appreciate it.

“I ride my bike to work for years, but is that enough? Our carelessness towards our surroundings has taken a toll on the environment. And now, everyone is responsible for changes; even the most minor contribution is counted. With this hope and spirit, I started with my partner to establish Biketoworkday to help more individuals commute to their work sites on their bikes.”